Last updated: July 20, 2026
A onesie decorating station is one of those baby shower activities that guests actually look forward to, and it doubles as a meaningful gift for the parents-to-be. In this guide, you will find everything you need to set up a beautiful, well-stocked station that runs smoothly and produces keepsakes the new family will treasure for years.
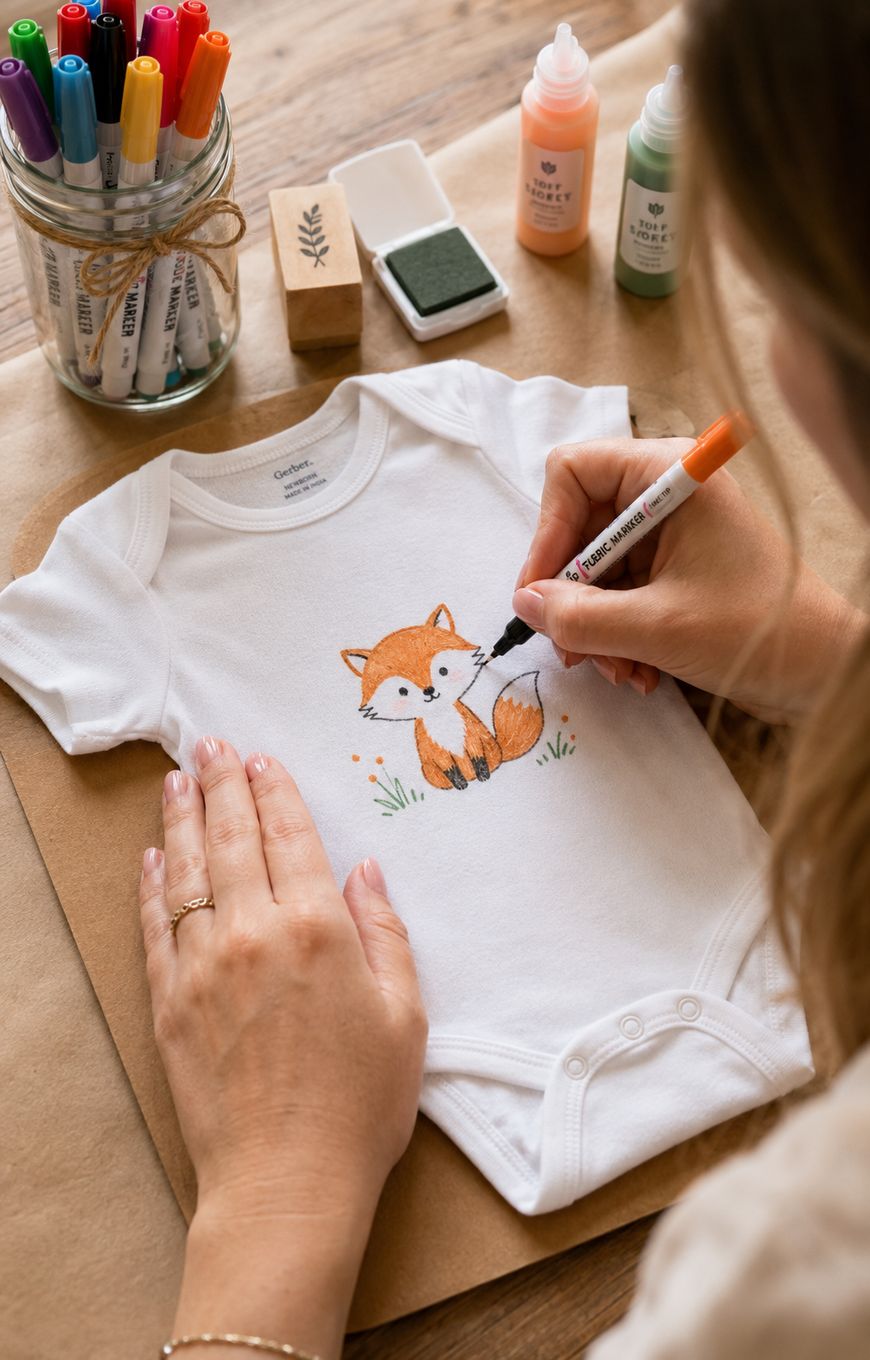
Why a Onesie Decorating Station Works So Well at Baby Showers
Unlike many party games, onesie decorating gives every guest something to do with their hands while conversations flow naturally around the table. It appeals to crafty guests and non-crafty guests equally because there is no wrong way to decorate a tiny onesie.
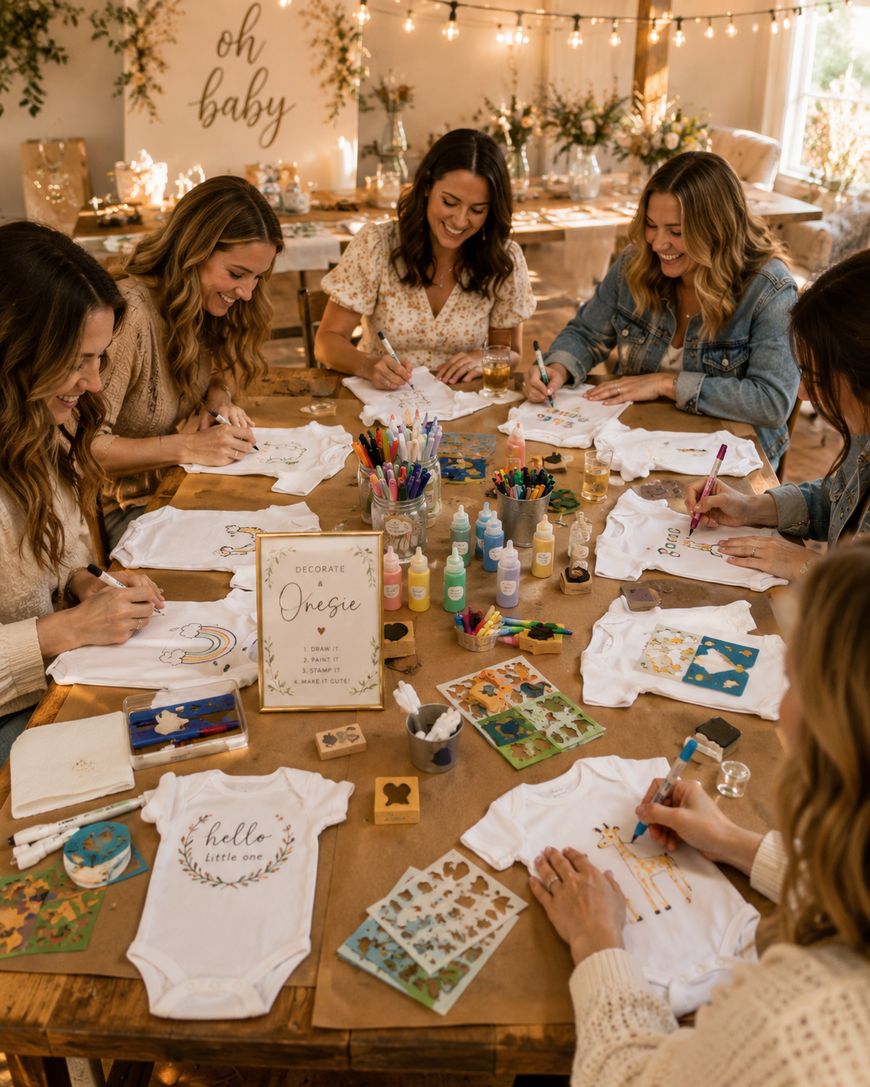
The finished pieces become part of the baby’s actual wardrobe, which means your effort and creativity live on long after the party ends. Parents often tell you that they tear up a little each time they dress their baby in one of those hand-decorated onesies, knowing exactly who made it.
This activity also scales beautifully. Whether you are hosting an intimate shower of eight people or a backyard celebration of forty, the station setup stays essentially the same and you simply add more supplies and table space as needed.
Choosing the Right Onesies to Decorate
The foundation of any great onesie decorating station is the onesies themselves, and this is where a little planning pays off enormously. Stock a range of sizes rather than all newborn, because babies grow fast and parents will use 3-month, 6-month, and even 12-month sizes far longer than you might expect.
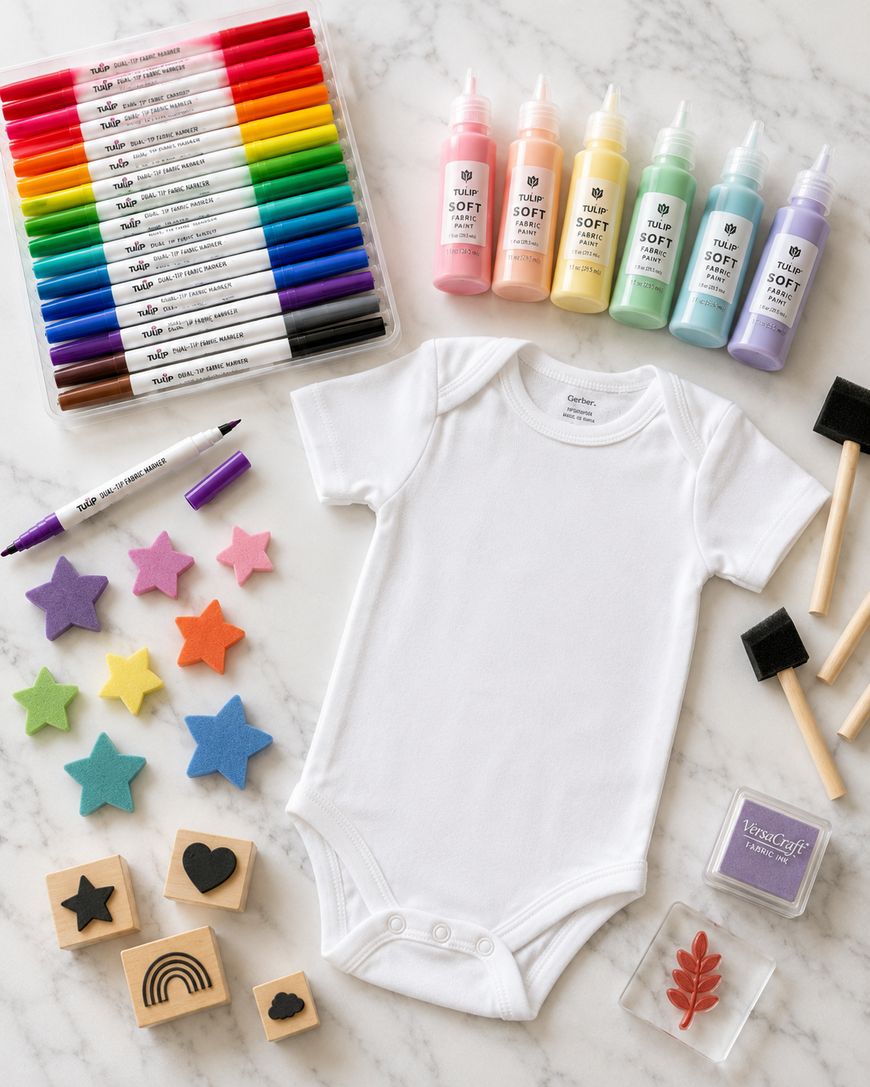
Plain white onesies work best for decorating because the colors read true and the designs pop visually. Light gray and pale yellow are also popular neutral options that show fabric paint beautifully without competing with the artwork.
Buy onesies in bulk from warehouse stores or order a mixed-size pack online to keep costs manageable. Budget roughly two to three onesies per guest so there are plenty to go around, and pick up a few extras for guests who want to make more than one.
Essential Supplies for Your Onesie Decorating Station
Getting the supply list right means guests can sit down and start creating without hunting for what they need. Lay everything out in a logical order so the station feels intuitive the moment someone walks up.
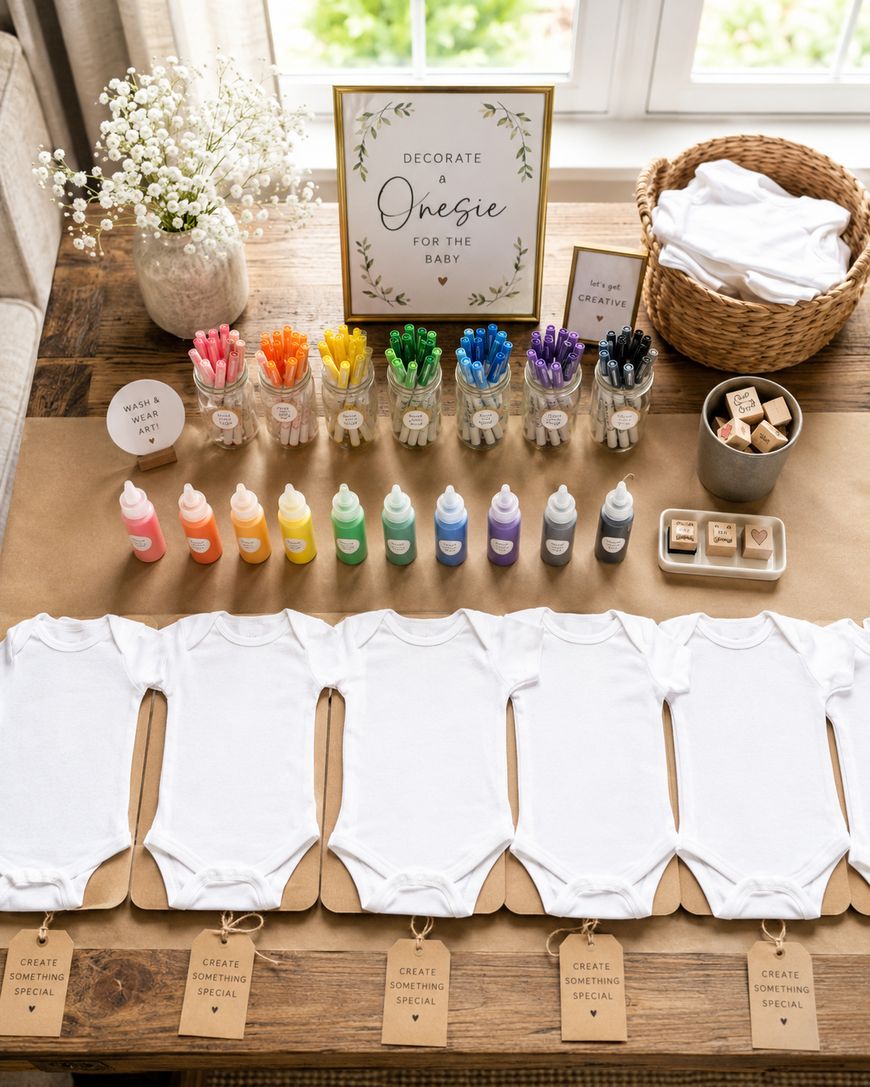
Fabric markers are the most approachable tool for guests who feel uncertain about their artistic abilities. Look for dual-tipped sets that include both a broad chisel tip for filling large areas and a fine tip for detail work. Brands like Tulip and Arteza make sets specifically designed for fabric that wash well and stay vibrant through dozens of laundry cycles.
Iron-on appliques give guests a no-draw option that still looks polished and intentional. Stock a variety of themed appliques such as animals, stars, rainbows, and alphabet letters so guests can spell out sweet messages or create a themed scene without needing to draw freehand at all.
Fabric paint in squeeze bottles with fine-tip nozzles lets creative guests go beyond what markers can do. Set out squeeze bottles in a rainbow of colors plus black and white for mixing, and place a few foam brushes and small craft brushes nearby for guests who want to blend or layer colors.
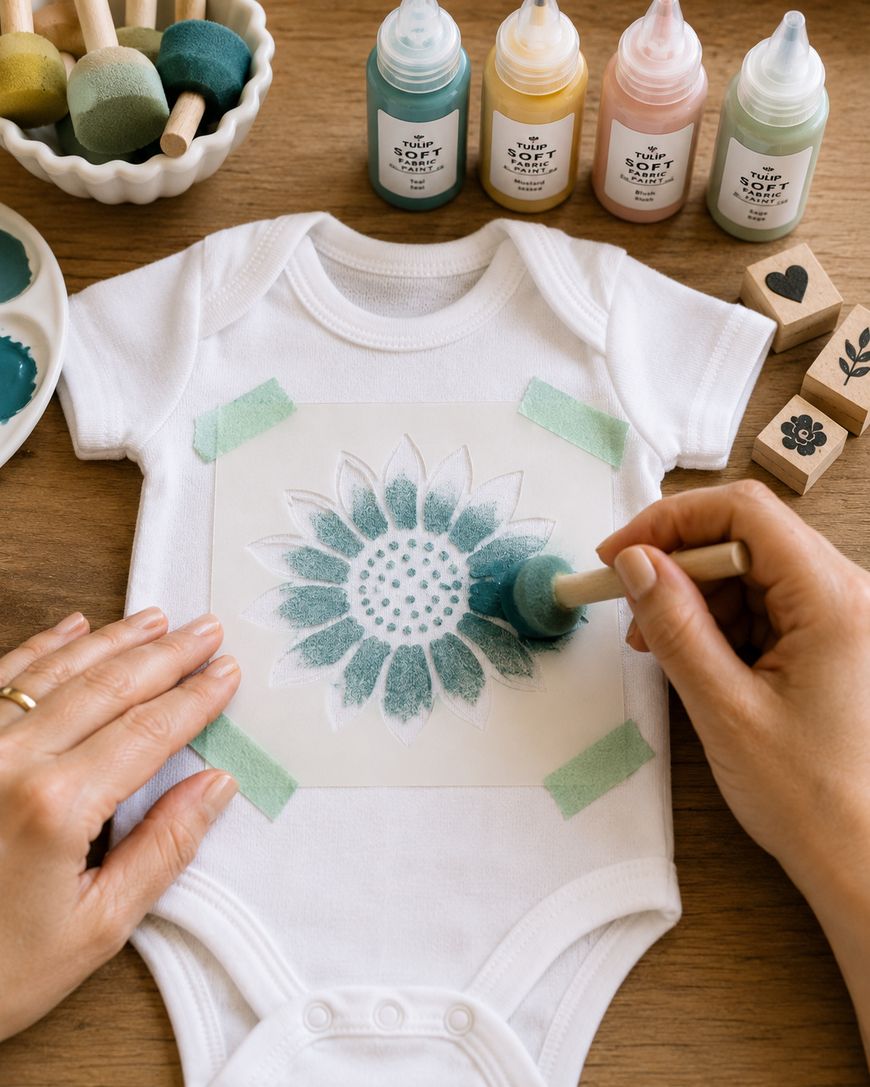
Stencils are one of the most underrated onesie decorating station ideas because they give every guest an instant professional result. Secure each stencil to the onesie with a small piece of painter’s tape before dabbing paint through the design for crisp, clean edges.
Stamps and stamp pads designed for fabric open up a whole world of textured patterns that are nearly impossible to recreate freehand. Animal stamps, geometric shapes, and floral motifs are all crowd favorites that work well even for guests with no craft experience whatsoever.
Setting Up the Physical Station
The physical layout of your station determines how smoothly everything runs on the day of the shower. Give each guest roughly 24 inches of table space so they can spread out their onesie flat and work comfortably without bumping elbows with their neighbor.
Place a piece of cardboard or a cutting mat inside each onesie before guests begin decorating. This prevents paint and marker from bleeding through to the back layer, which is a common beginner mistake that ruins the finished piece.
Line the table with craft paper or a disposable plastic tablecloth so drips and smears do not damage the table surface beneath. Washi tape in coordinating colors along the edge of the craft paper adds a decorative touch that also keeps the covering from shifting.
Set up a drying rack or dedicated drying area away from the main station where guests can place their finished onesie flat or hang it with a clip. Label each piece with a small tag noting the guest’s name so the parents know who made which one.
Small cups of water and paper towels at each seat let guests clean their tools between colors without needing to leave the table. A few jars of baby wipes nearby take care of hands quickly and keep the station from feeling messy.
Onesie Decorating Station Themes to Try
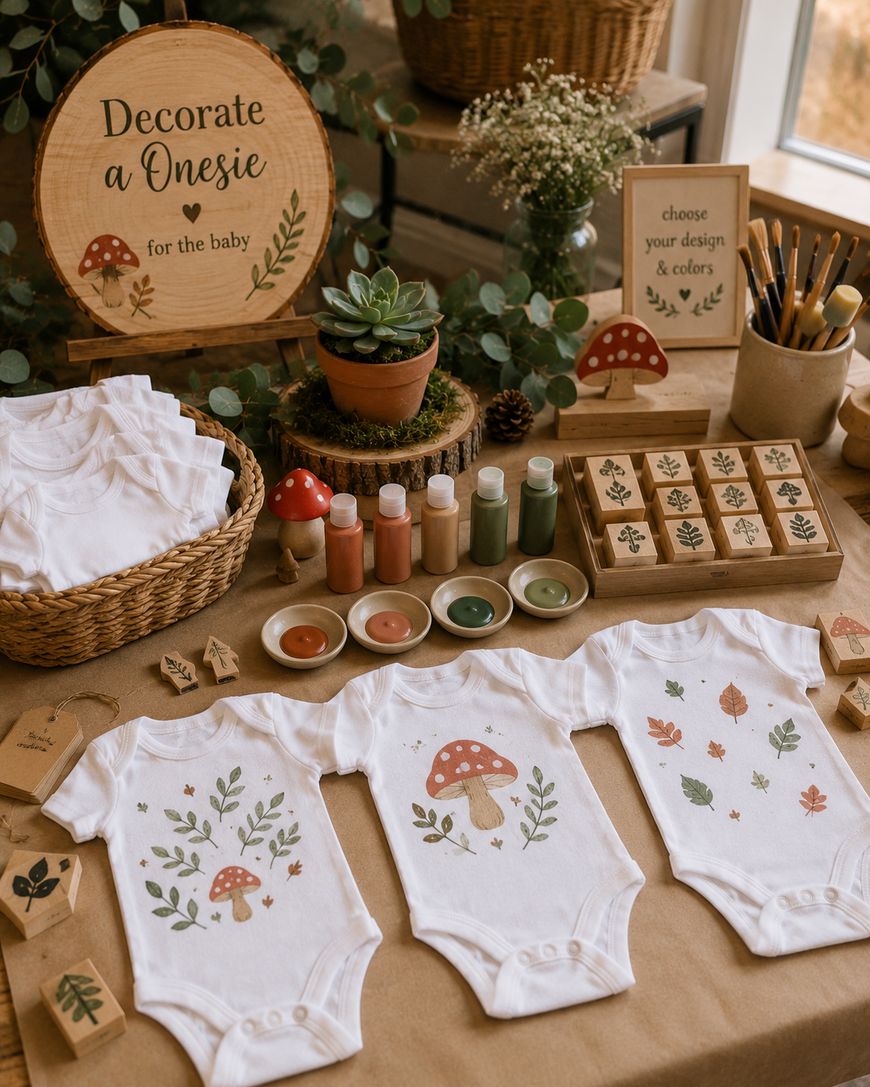
Matching your onesie decorating station to the overall shower theme creates a cohesive party experience that feels intentional and polished. A woodland theme station might feature mushroom and fox stamps, earthy paint colors like sage green and terracotta, and leaf-shaped stencils.
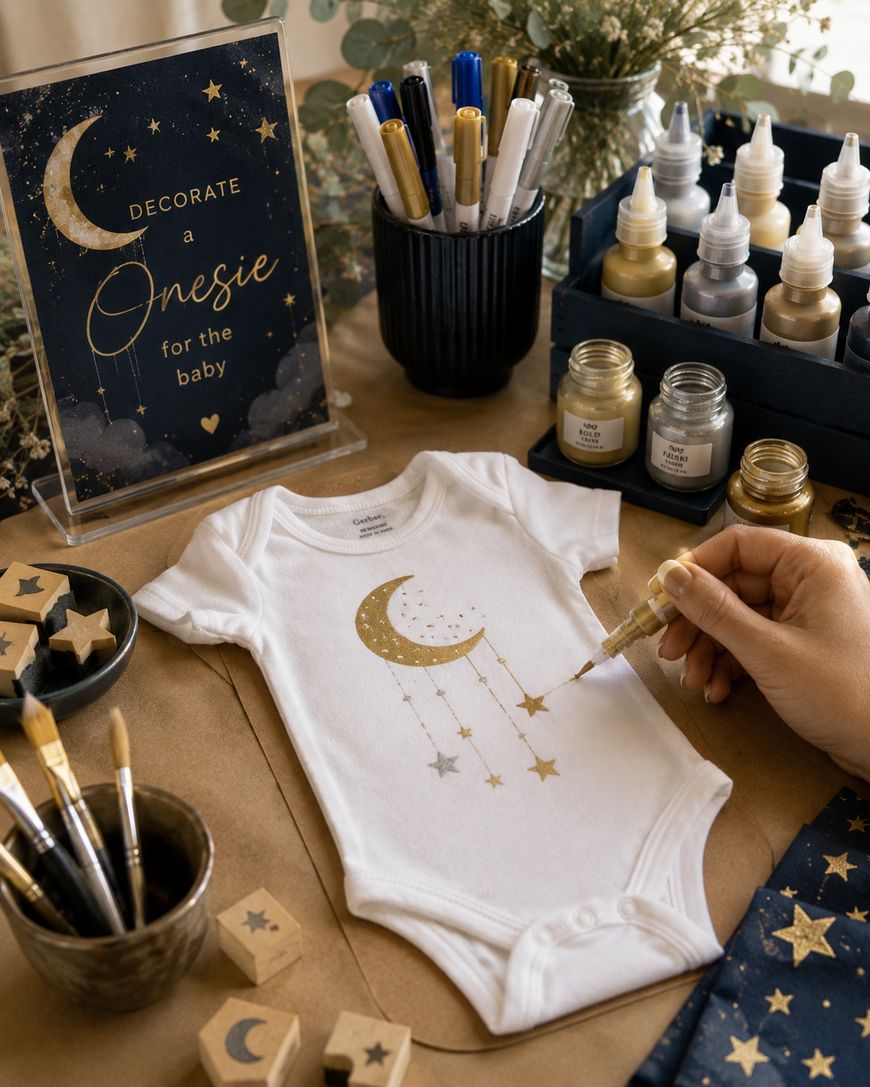
A celestial theme works beautifully with moon and star stamps, metallic silver and gold fabric paint, and planet stencils. Guests love how the finished onesies look like something you would find in a boutique children’s clothing shop.
A rainbow theme is one of the most joyful onesie decorating station ideas for a gender-neutral shower. Set out every color of the fabric paint rainbow and let guests go wild creating their own arcs, polka dot patterns, and swirled color-block designs.
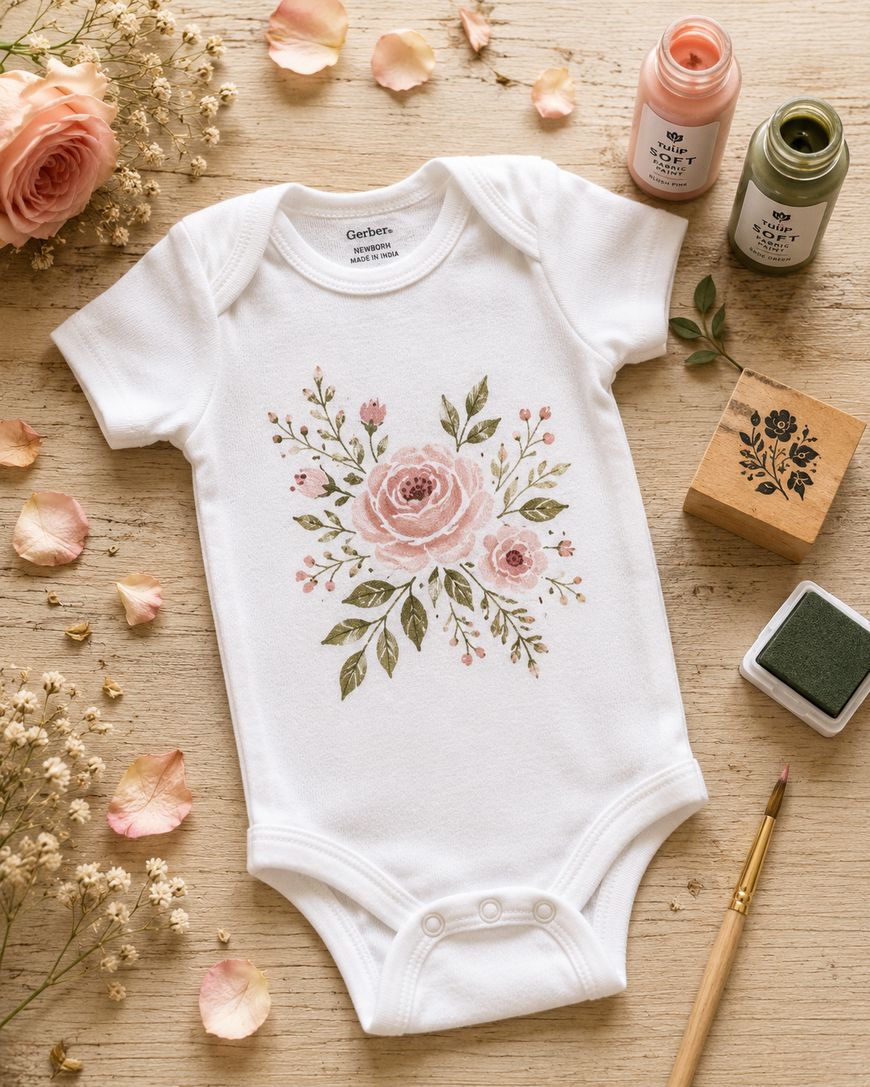
A floral theme suits garden party showers perfectly, especially when you pair rose and daisy stamps with pastel paint colors and provide a few pressed flower stencils for guests who want a botanical illustration feel. Add a small vase of real flowers at the center of the station for inspiration and ambiance.
Tips for Running the Station Smoothly
Brief guests on the basics before they sit down so everyone starts with the same information. A small laminated instruction card at each seat works even better because guests can refer back to it as they work without needing to ask questions.
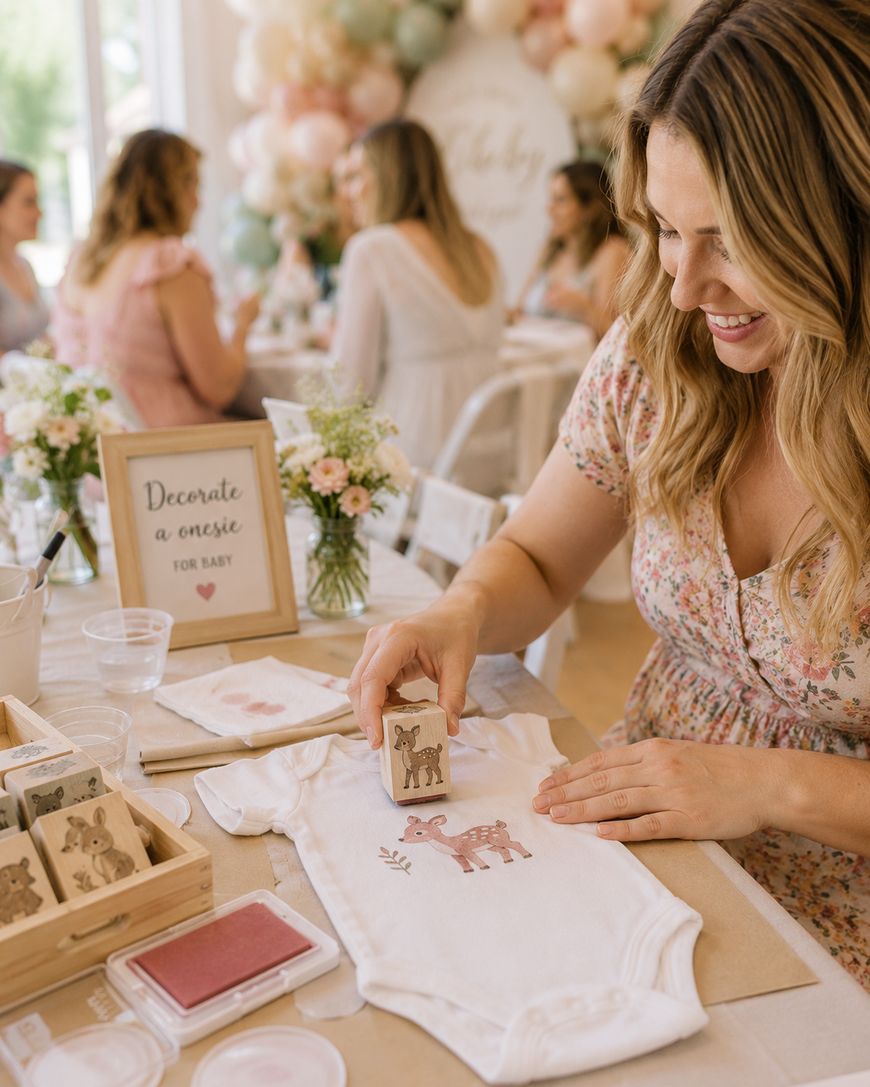
Remind everyone to place the cardboard insert inside the onesie before they begin, since this single step prevents the most common frustration at onesie decorating stations. A gentle verbal reminder as guests sit down takes five seconds and saves a lot of disappointment later.
Plan for the decorating activity to take roughly 20 to 30 minutes per guest, though some people will finish in 10 minutes and others will happily spend an hour adding details. Build this flexibility into your schedule so the activity does not feel rushed or drag on past its welcome.
Have a helper at the station during the first 15 minutes to get everyone oriented and answer questions. After that initial burst of activity, most guests become self-sufficient and the helper can step back or circulate elsewhere.
Making the Station Feel Special and Beautiful
Presentation matters more than people expect, and a beautifully styled station encourages guests to approach it and engage. Use small terracotta pots or glass jars to hold markers and brushes upright so guests can see all the colors at a glance.
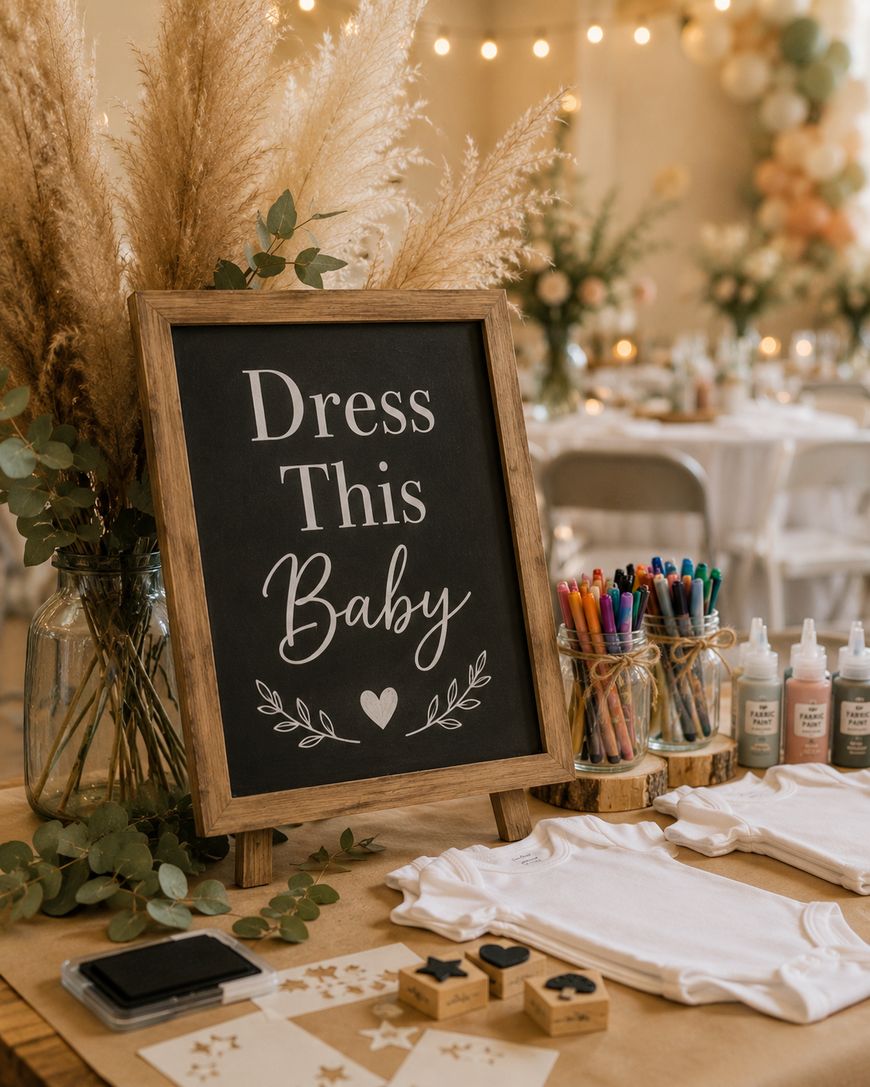
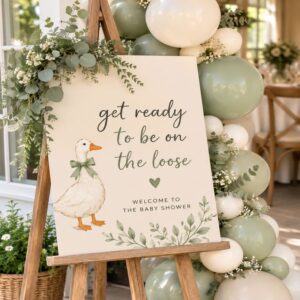
A chalkboard or wooden sign above the station that reads something like “Dress This Baby” or “Create a Keepsake” sets the tone and draws guests in. Lean the sign against a backdrop of pampas grass or a simple balloon arch to create a photo-worthy moment that will show up all over your guests’ social media.
String lights above or behind the station add a warm, inviting glow especially for evening showers or indoor events where the lighting might otherwise feel flat. Battery-powered LED string lights are easy to position anywhere without worrying about outlet placement.
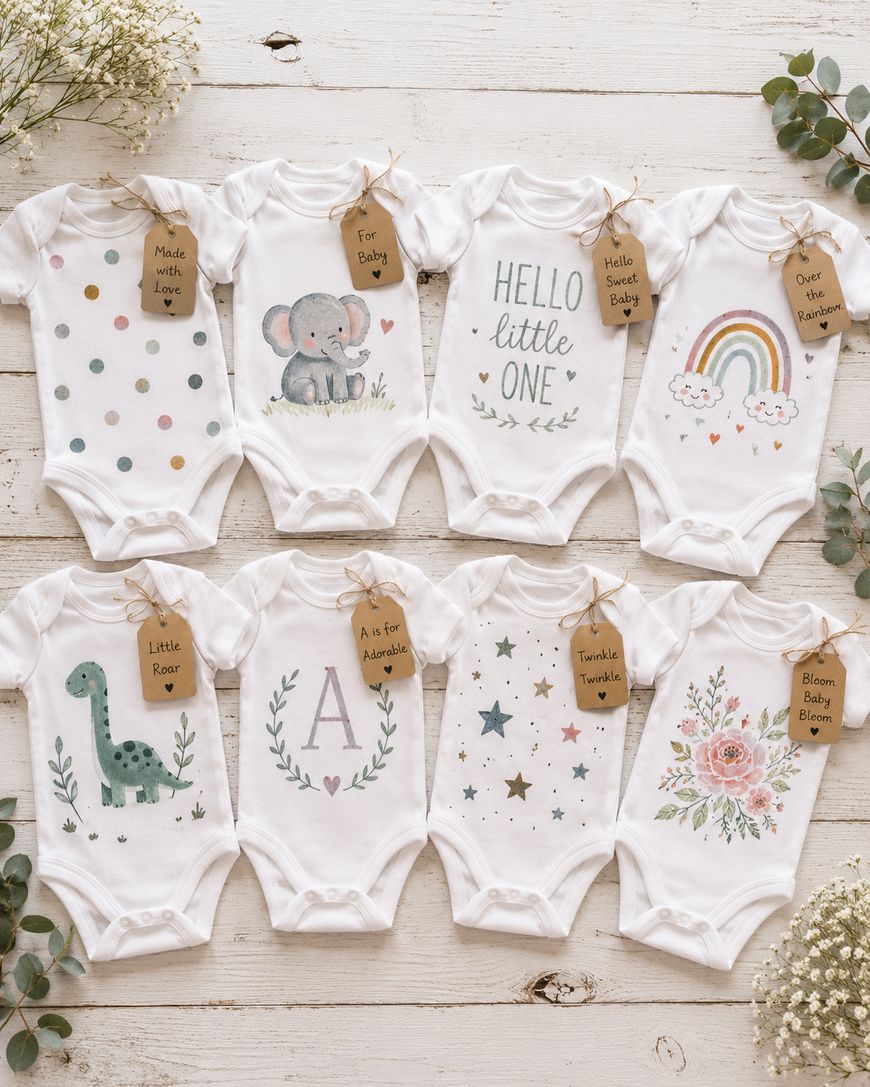
Small personalized favor tags tied to each finished onesie with ribbon add a thoughtful finishing touch. Pre-print tags that say something like “Made with love by [guest name] for baby [last name]” so all guests need to do is write their name.
Q&A: Onesie Decorating Station Ideas
What supplies do I absolutely need for a onesie decorating station?
At minimum, you need plain white onesies in a range of sizes, fabric markers, cardboard inserts for inside each onesie, and a flat work surface. Everything else such as stencils, stamps, and fabric paint is a wonderful enhancement but not strictly required to give guests a fun, successful experience.
How many onesies should I buy per guest?
Plan for two onesies per guest as a starting point, then add a small buffer of four to six extra onesies for enthusiastic decorators who finish quickly and want to make another. It is far better to have onesies left over than to run out mid-party.
Can guests use regular markers on onesies?
Regular markers will fade or wash out after a few laundry cycles, which defeats the purpose of creating a lasting keepsake. Always use fabric markers or fabric paint specifically formulated to bond with textile fibers, and remind guests that heat-setting the finished onesie with an iron or dryer makes the design permanent.
How do I prevent fabric marker from bleeding?
Placing a piece of cardboard or a plastic cutting mat inside the onesie creates a firm barrier that prevents bleed-through. Working on a flat surface rather than holding the onesie in your lap also helps because it keeps the fabric taut and gives you more control over the marker tip.
How long does it take for onesies to dry at a baby shower?
Fabric markers are typically dry to the touch within 10 to 15 minutes, though they need 24 hours to cure fully before washing. Fabric paint can take 30 to 60 minutes to dry at the surface, so set finished pieces in a dedicated drying area where they will not be bumped or smudged before they are ready to handle.
Do I need to pre-wash the onesies before the shower?
Pre-washing onesies before the event removes any manufacturing finishes that could prevent fabric paint and markers from adhering properly. Wash them without fabric softener, dry them completely, and iron out any wrinkles so guests have a smooth, ready-to-decorate surface waiting for them.
Bringing Your Onesie Decorating Station Together
A onesie decorating station is one of the most memorable things you can add to a baby shower, and the setup is simpler than it looks when you work through it step by step. Start with good quality plain onesies in multiple sizes, stock a generous variety of fabric markers, paints, stamps, and stencils, and set up your physical station with enough space and drying room for every guest.
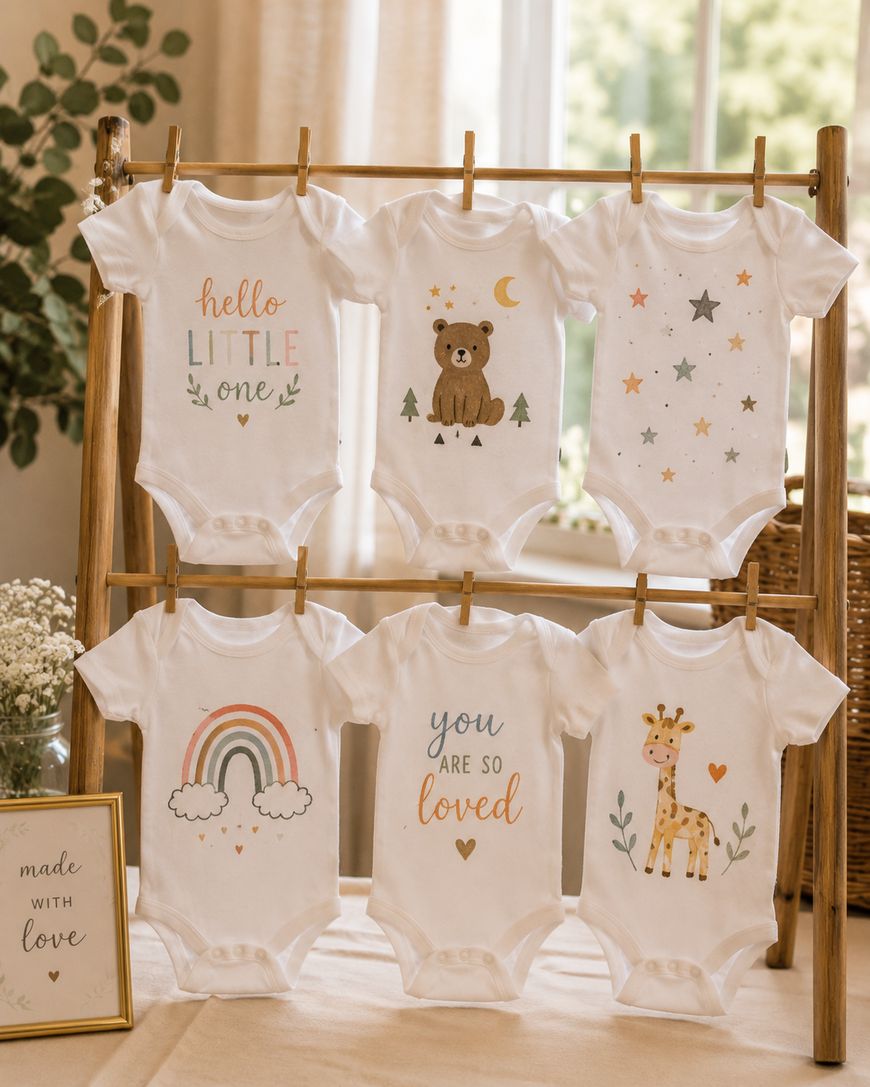
Pay attention to the small styling details that make the station feel beautiful and inviting, because those touches are what guests photograph and remember. When the shower is over, you will hand the parents-to-be a collection of one-of-a-kind, handmade pieces that tell the story of their community celebrating the arrival of their baby.
We hope these onesie decorating station ideas give you the confidence to pull off an activity that guests will talk about long after the cake is gone. Get your supplies ordered, set up your station with care, and watch the creativity and laughter fill the room.
Baby shower activities that are not games
This post contains affiliate links. A full disclosure is available from the main menu.


Leave a Reply