Last updated: August 30, 2026
If you’ve been wondering how to make slime that’s actually stretchy, non-sticky, and fun to play with, you’re in the right place. We’ll walk you through everything you need — from basic recipes to fluffy and butter slime — so you can get mixing right away.
Slime making is one of those activities that looks complicated but is genuinely simple once you understand a few key ingredients. Whether you’re making it for kids, for stress relief, or just for the satisfying sensory experience, this guide covers every style and answers every question you might have.
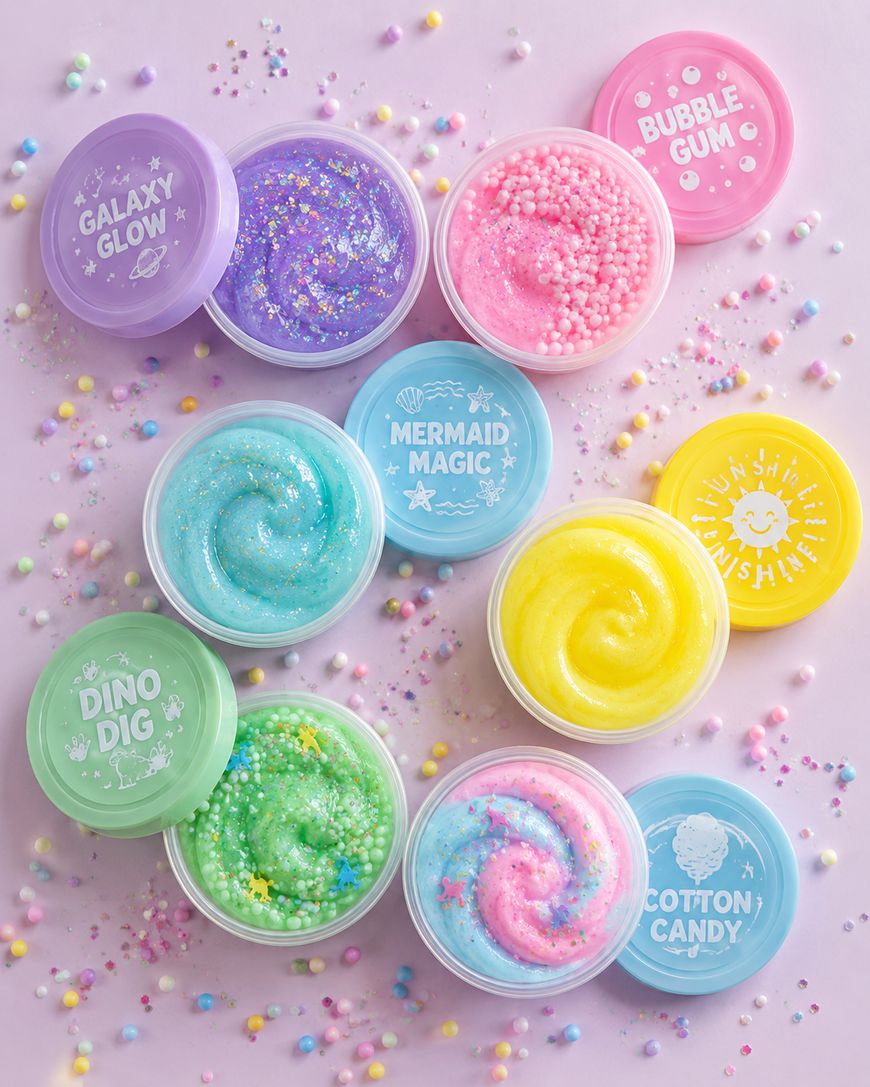
What You Need to Make Basic Slime
Before we dive into recipes, it helps to understand the core ingredients and why each one matters. Most slime is built on the same foundation: a glue base, a slime activator, and optional mix-ins for texture or color.
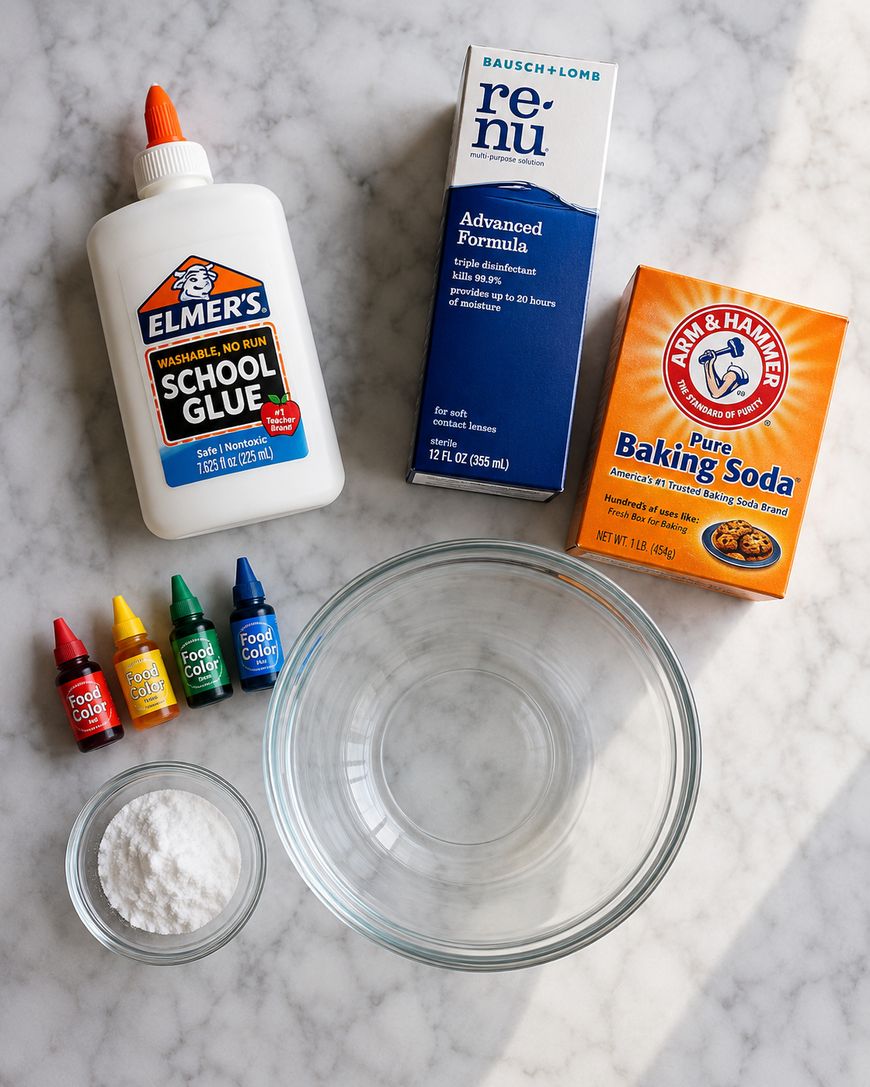
The most common glue is white school glue or clear PVA glue, both of which work beautifully for classic slime. The activator is what creates the chemical reaction that turns liquid glue into stretchy, pliable slime — and the most popular activators are borax solution, contact lens solution with baking soda, or liquid starch.
Contact lens solution is the most beginner-friendly activator because it’s easy to find, safe to handle, and gives you good control over the slime’s consistency. Borax solution produces a very firm, classic slime, while liquid starch tends to create a softer result. If you use borax, an adult should mix the solution and keep the powder away from children — it irritates skin and eyes, and the concentrated powder is the part that causes trouble.
You’ll also want food coloring or acrylic paint to add color, plus any extras like glitter, foam beads, or fragrance oils. The beauty of slime making is that it’s endlessly customizable, so once you learn the basics, you can experiment freely.
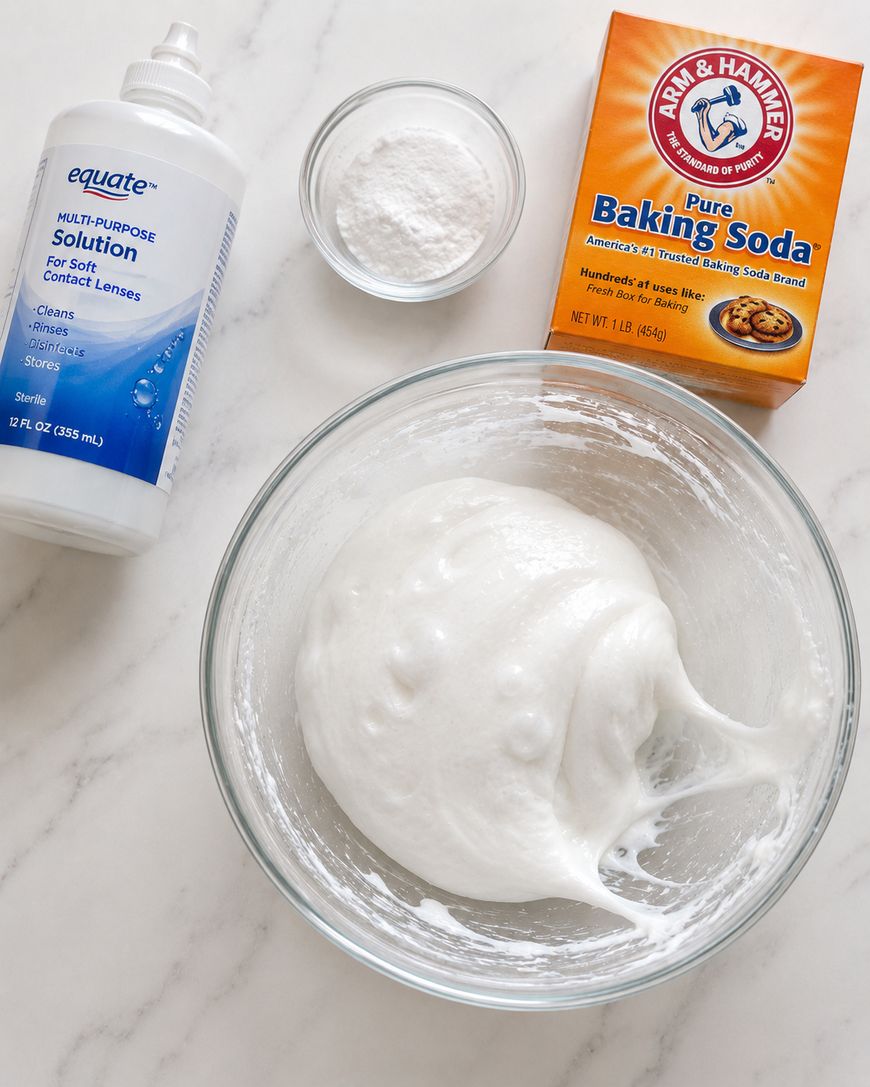
Basic Supplies List
- White school glue or clear PVA glue
- Contact lens solution (must contain boric acid)
- Baking soda
- Food coloring or acrylic paint
- Mixing bowl and spoon
- Optional: glitter, foam beads, lotion
How to Make Classic Slime Step by Step
Classic slime is the best place to start because the process is quick, the ingredients are affordable, and the results are reliable. Once you’ve nailed this recipe, every other type of slime will feel easy.
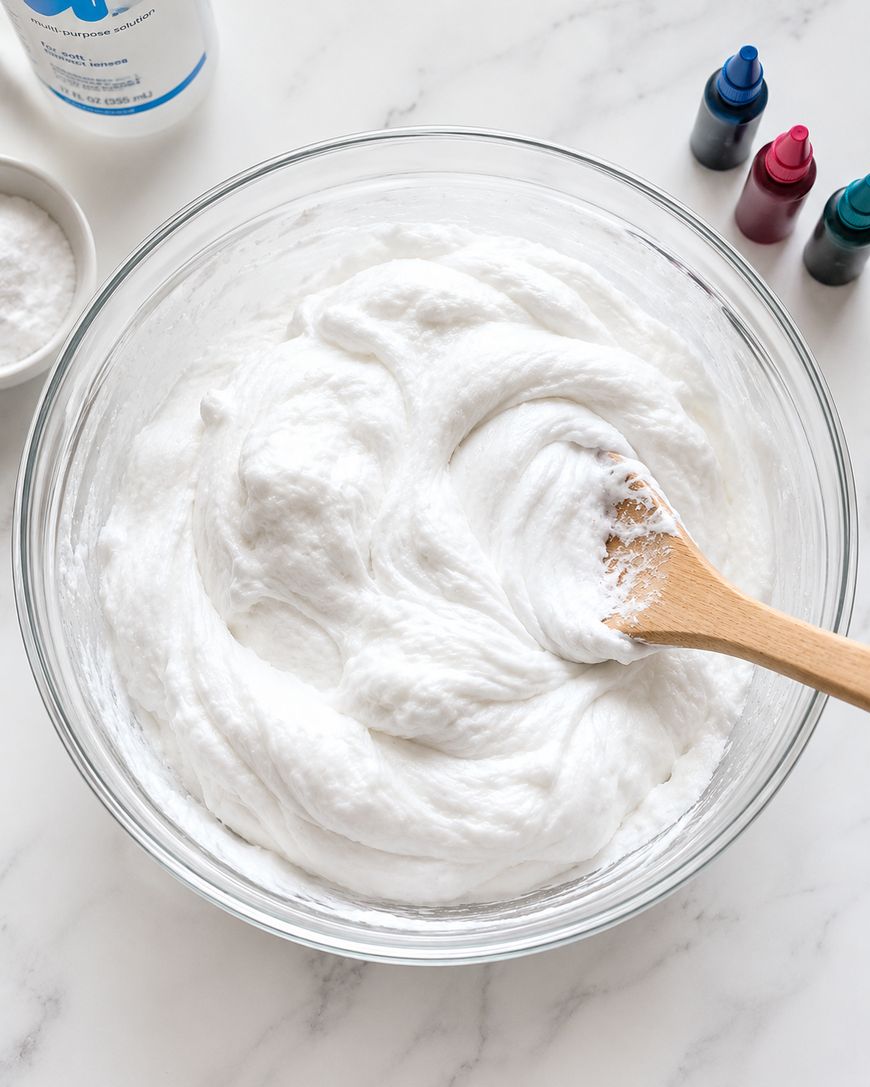
Pour one full 4-ounce bottle of white school glue into your mixing bowl. Add a small squeeze of your chosen food coloring and mix until the color is evenly distributed throughout the glue.
Next, add half a teaspoon of baking soda and stir it in completely. The baking soda helps firm up the slime and makes the activator work more effectively, so don’t skip this step.
Now comes the most important part: add your contact lens solution one tablespoon at a time, stirring vigorously after each addition. You’ll see the slime begin to pull away from the sides of the bowl and form a cohesive mass — this is exactly what you want.
Keep adding contact lens solution in small amounts until the slime is no longer sticky and holds its shape when you pick it up. Then transfer it to your hands and knead it for two to three minutes until it becomes smooth, stretchy, and satisfying to pull.
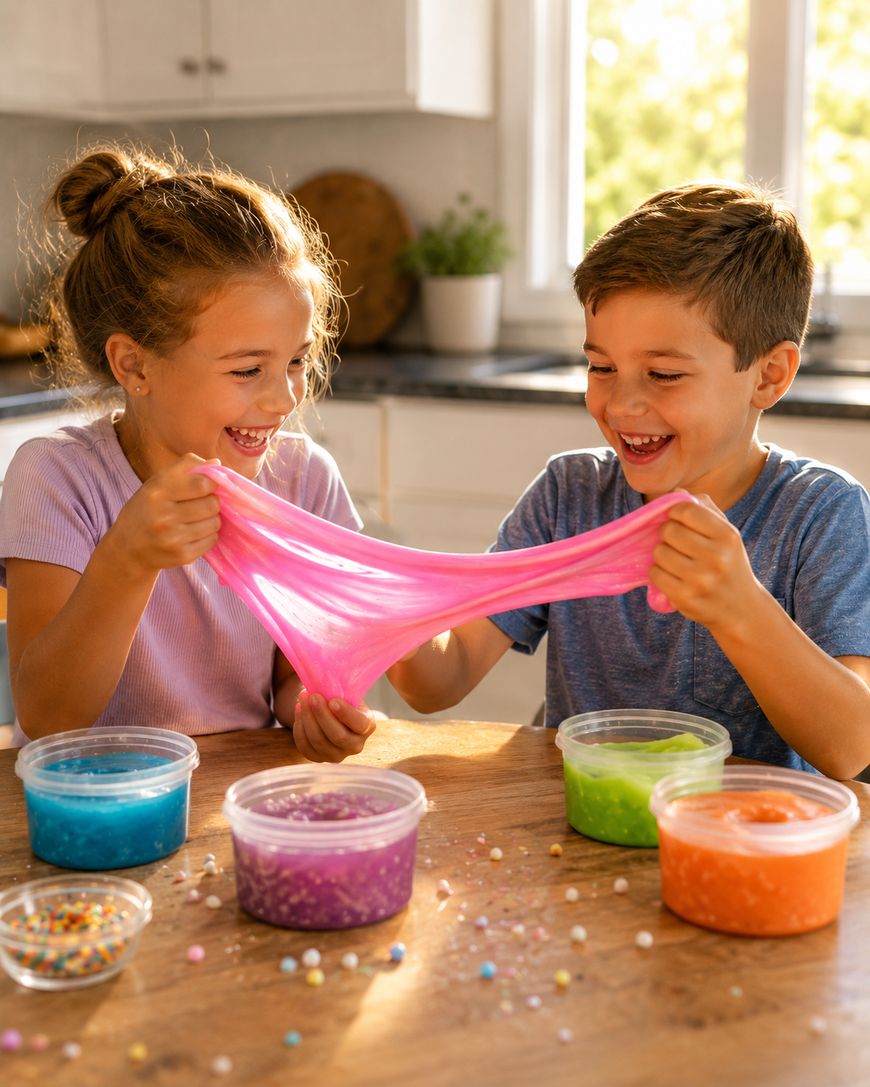
1. Pour and color the glue
Empty one 4-ounce bottle of white school glue into a mixing bowl. Stir in a few drops of food coloring until the mixture is uniform.
2. Add baking soda
Sprinkle in half a teaspoon of baking soda and mix thoroughly.
3. Activate with contact lens solution
Add contact lens solution one tablespoon at a time, stirring after each addition, until the slime pulls away from the bowl cleanly.
4. Knead until smooth
Transfer to your hands and knead for 2 to 3 minutes until the texture is smooth and stretchy.
How to Make Fluffy Slime
Fluffy slime is a fan favorite because of its light, pillowy texture and satisfying squish. The secret ingredient is shaving cream, which gets folded into the glue base before activation to create that airy, cloud-like consistency.
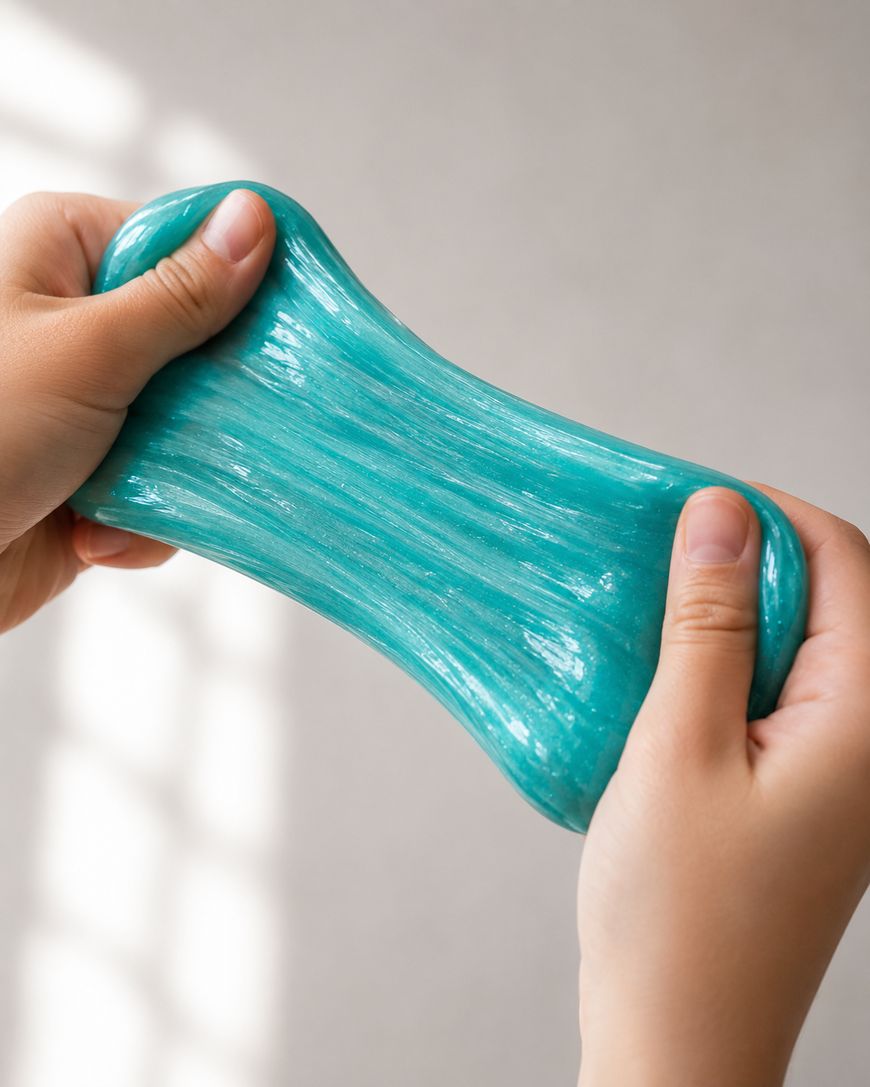
Start with one 4-ounce bottle of white school glue in your mixing bowl, then add food coloring and stir to combine. Now add a generous amount of shaving cream — roughly half a can — and fold it into the glue mixture gently.
The goal is to keep the air in the shaving cream rather than deflating it, so use a folding motion rather than aggressive stirring. Once the glue and shaving cream are fully combined, add half a teaspoon of baking soda and mix well.
Activate the slime with contact lens solution, adding it slowly and stirring between each addition. Fluffy slime needs slightly more activator than classic slime because the shaving cream adds volume, so be patient and keep going until the slime forms a cohesive ball.
Knead the fluffy slime for two to three minutes — it will feel very soft and may seem overly sticky at first, but it firms up with handling. Fluffy slime deflates slightly over time, which is completely normal; it can be re-fluffed by adding a small amount of shaving cream and kneading it back in.
Store your fluffy slime in an airtight container at room temperature. It should stay fresh and stretchy for several weeks if properly stored.
How to Make Butter Slime
Butter slime has a smooth, spreadable texture that feels incredibly satisfying to stretch and mold. The key ingredient that sets it apart is Model Magic or soft clay, which gets kneaded into the finished slime to create that velvety, buttery consistency.
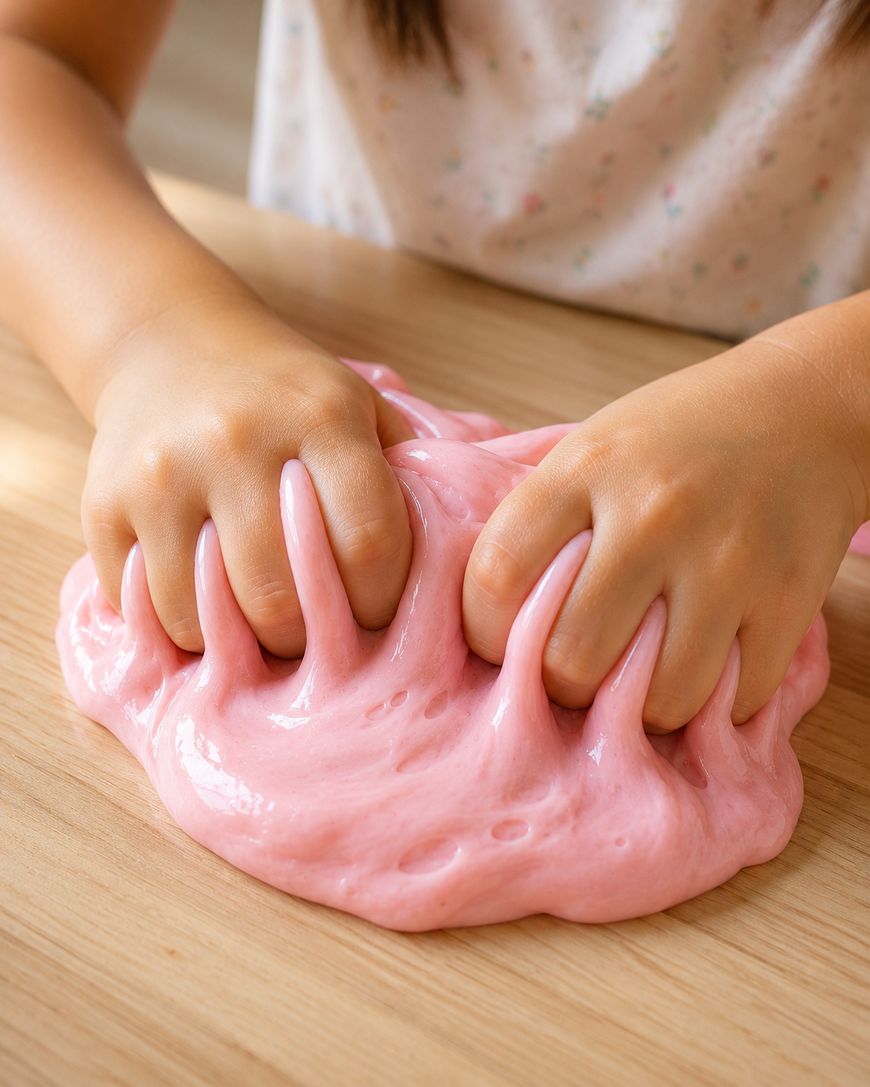
Make a batch of classic slime using the recipe above, then let it rest for five minutes. Break off a small amount of white Model Magic or soft clay — about the size of a golf ball — and begin kneading it into the slime a little at a time.
Work the clay into the slime gradually, adding more as the slime absorbs it and becomes smoother. The more clay you add, the thicker and more spreadable the texture becomes, so adjust based on your preference.
Butter slime holds its shape well, spreads like soft butter across a surface, and has a matte finish that looks beautiful. It’s especially popular for ASMR and satisfying video content because of how cleanly it cuts and spreads.
If your butter slime feels too stiff, knead in a small amount of lotion to soften it. If it’s too sticky, add a tiny drop of contact lens solution and work it through.
How to Make Clear Slime
Clear slime starts with clear PVA glue instead of white glue, and the process is nearly identical to classic slime. The big difference is that clear slime takes several days to become truly transparent — right after making it, the slime appears cloudy or bubbly.
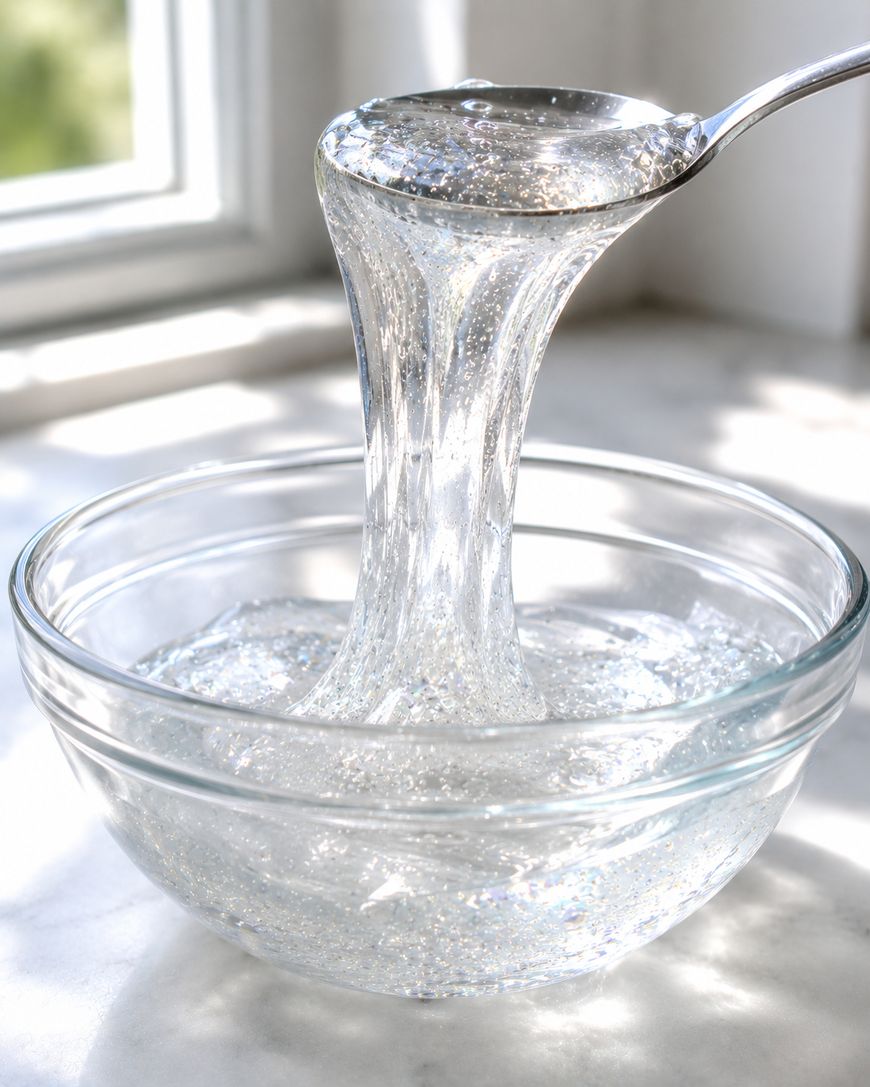
Mix one 4-ounce bottle of clear school glue with half a teaspoon of baking soda, then activate with contact lens solution as you would for classic slime. Store the finished slime in an airtight container and leave it undisturbed for three to five days, allowing air bubbles to rise to the surface.
The patience pays off — after a few days of resting, the slime becomes beautifully clear and glass-like. You can then add glitter, sequins, or small charms to create a gorgeous snow globe effect inside the slime.
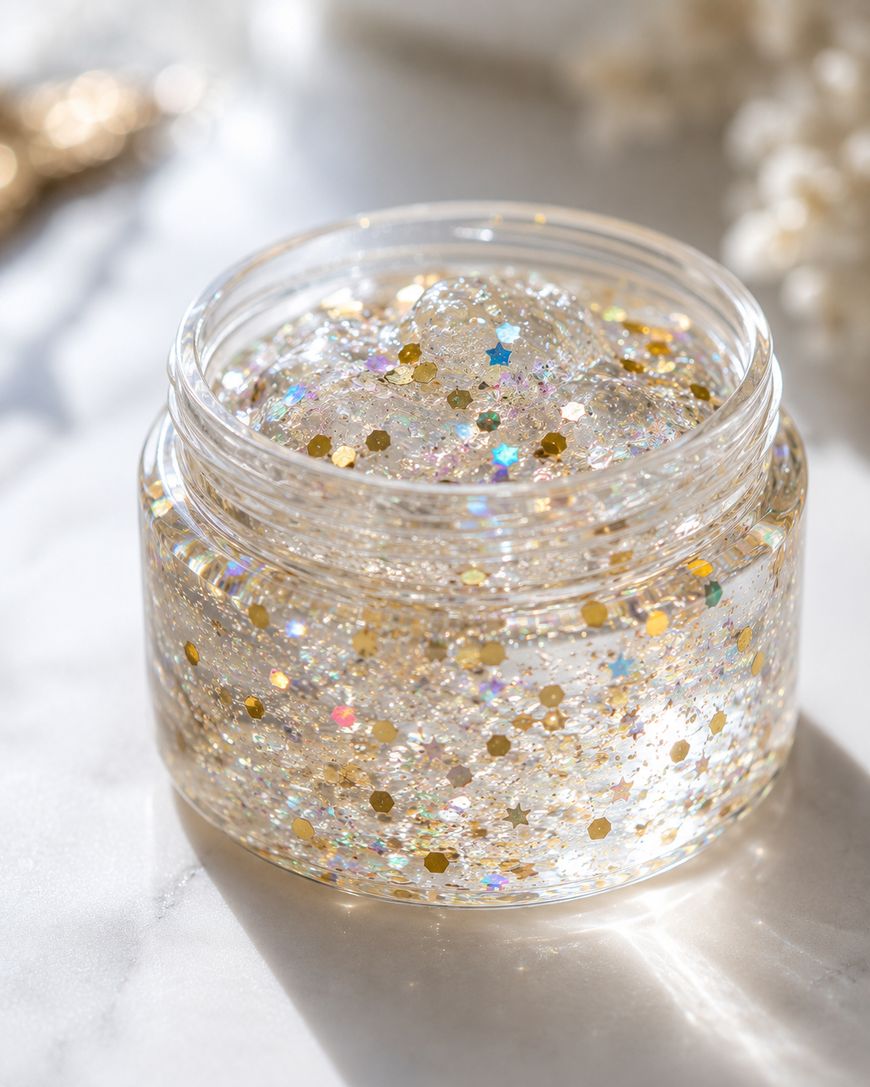
Clear slime is also the base for galaxy slime, fishbowl slime, and many other decorative varieties, so it’s a great recipe to have in your toolkit.
Slime Troubleshooting Tips
Even with a great recipe, slime doesn’t always turn out perfectly on the first try. The most common issues are slime that’s too sticky, too rubbery, or won’t come together at all — and all of these problems have simple solutions.

If your slime is too sticky, you need more activator. Add contact lens solution just a few drops at a time, kneading it in after each addition, until the stickiness is gone.
If your slime is too stiff or rubbery, you’ve added too much activator. Knead in a small amount of lotion or a tiny splash of water to soften it back up.
If your slime won’t form at all and stays liquid, check your contact lens solution — it must contain boric acid to work as an activator. Many travel-size or off-brand solutions don’t contain this ingredient, so always read the label.
Q&A: Common Slime Questions
How long does slime last?
Slime typically lasts two to four weeks when stored in an airtight container at room temperature. You can extend its life by washing your hands before playing with it, which prevents oils and debris from breaking down the slime faster.
Can you make slime without borax?
Yes, you can make slime without borax by using contact lens solution with baking soda as your activator. This method is popular because it’s gentler and easier to control than a borax solution, and the results are nearly identical.
Why is my slime sticky?
Sticky slime needs more activator. Add contact lens solution a few drops at a time, kneading it in thoroughly after each addition, until the slime no longer sticks to your hands.
Is slime safe for kids?
Slime made with contact lens solution and white school glue is generally considered safe for children, though adult supervision is recommended. Always wash hands before and after play, and make sure young children don’t put slime in their mouths.
How do you store slime?
Store slime in an airtight container — a resealable plastic bag or a small lidded container both work well. Keep it at room temperature away from direct sunlight, which can cause it to dry out faster.
Can you fix dried-out slime?
Yes! Add a few drops of warm water or lotion to dried slime and knead it thoroughly. It may take a few minutes of working, but most slime can be revived if it hasn’t completely hardened.
Conclusion
Now that you know how to make slime in all its most popular forms, the only thing left to do is pick a recipe and start mixing. Classic slime is the perfect starting point, but once you’ve tried fluffy slime and butter slime, you’ll want to work your way through every variation.
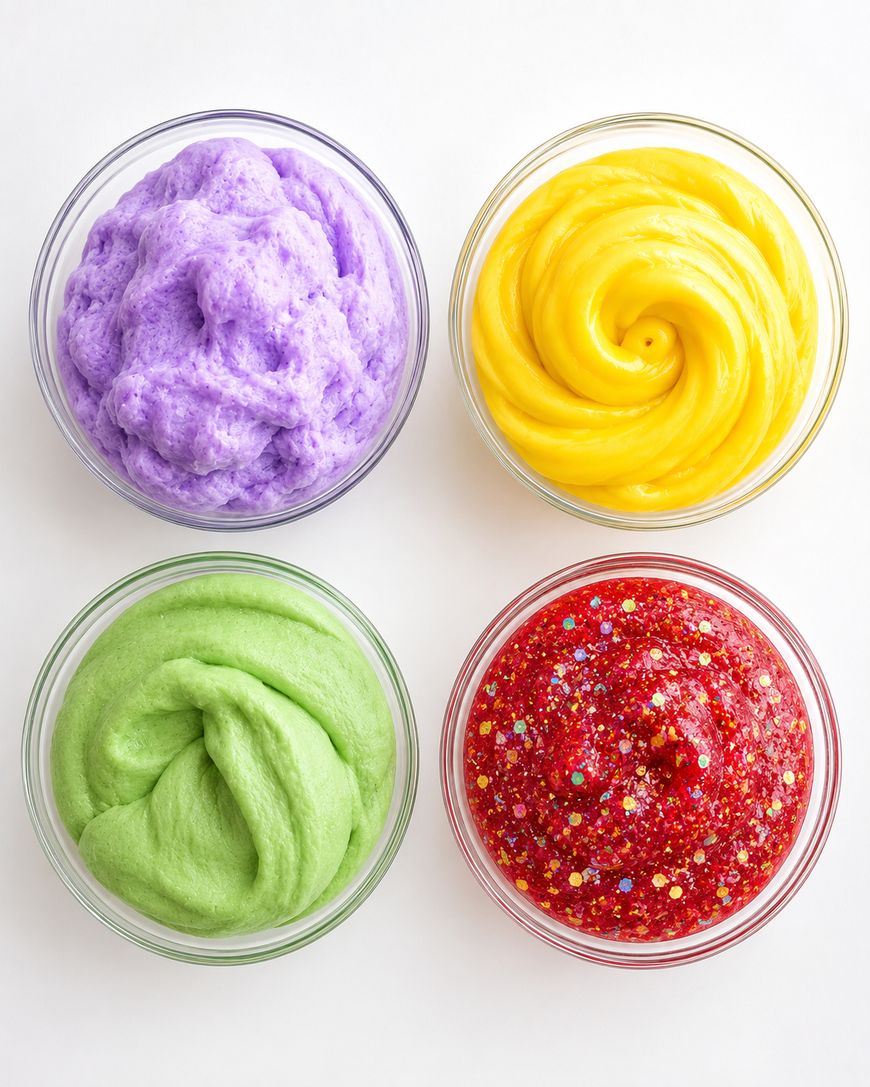
Grab your glue, set up your mixing station, and get ready for hours of satisfying, stretchy fun. If you have questions or run into trouble, come back to this guide — we’ve covered every common issue so your first batch turns out great.



Leave a Reply