Last updated: August 4, 2026
If you are searching for toddler pumpkin painting ideas that actually work for little hands, you have come to the right place. We are sharing the best techniques, color combos, and creative setups so your toddler can have a blast decorating pumpkins this fall — no carving required.
From simple stamping to rainbow swirls, these ideas are designed for the 1- to 4-year-old crowd and keep cleanup manageable so you can actually enjoy the experience too.
Why Pumpkin Painting Is the Perfect Toddler Fall Activity
Pumpkin painting checks all the boxes for a great toddler activity: it is sensory-rich, open-ended, and produces something you can proudly display on your porch.
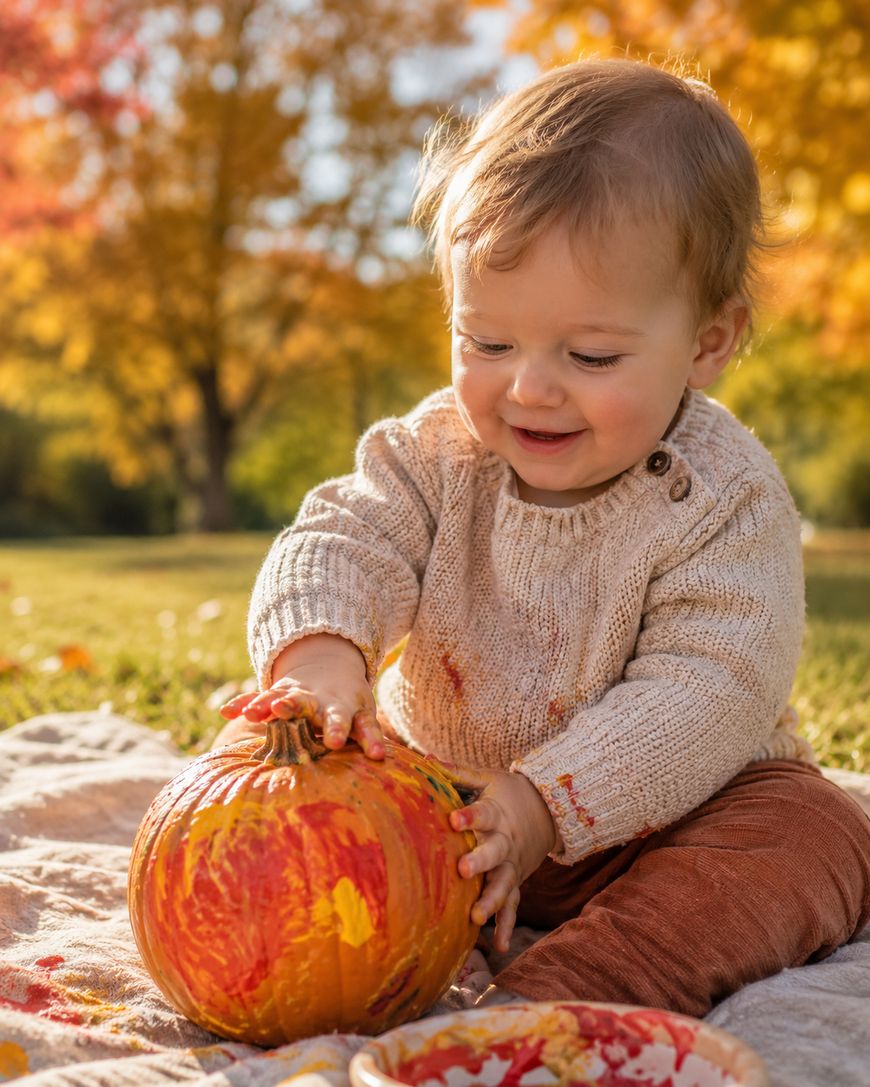
Unlike carving, painting is safe for even the youngest toddlers and lets them take the creative lead without any grown-up intervention required. The result is a uniquely personal pumpkin that captures this sweet stage of childhood, and trust us, you will want to photograph it before the season ends.
Painting also supports fine motor development as toddlers squeeze brushes, dab sponges, and drag their fingers across the surface of the pumpkin. It builds confidence too, because there is truly no wrong way to paint a pumpkin when you are two years old.
What Supplies You Need for Toddler Pumpkin Painting
Getting the right supplies makes a huge difference in how smoothly things go. You do not need anything fancy, just a few basics that keep the session fun rather than frustrating.
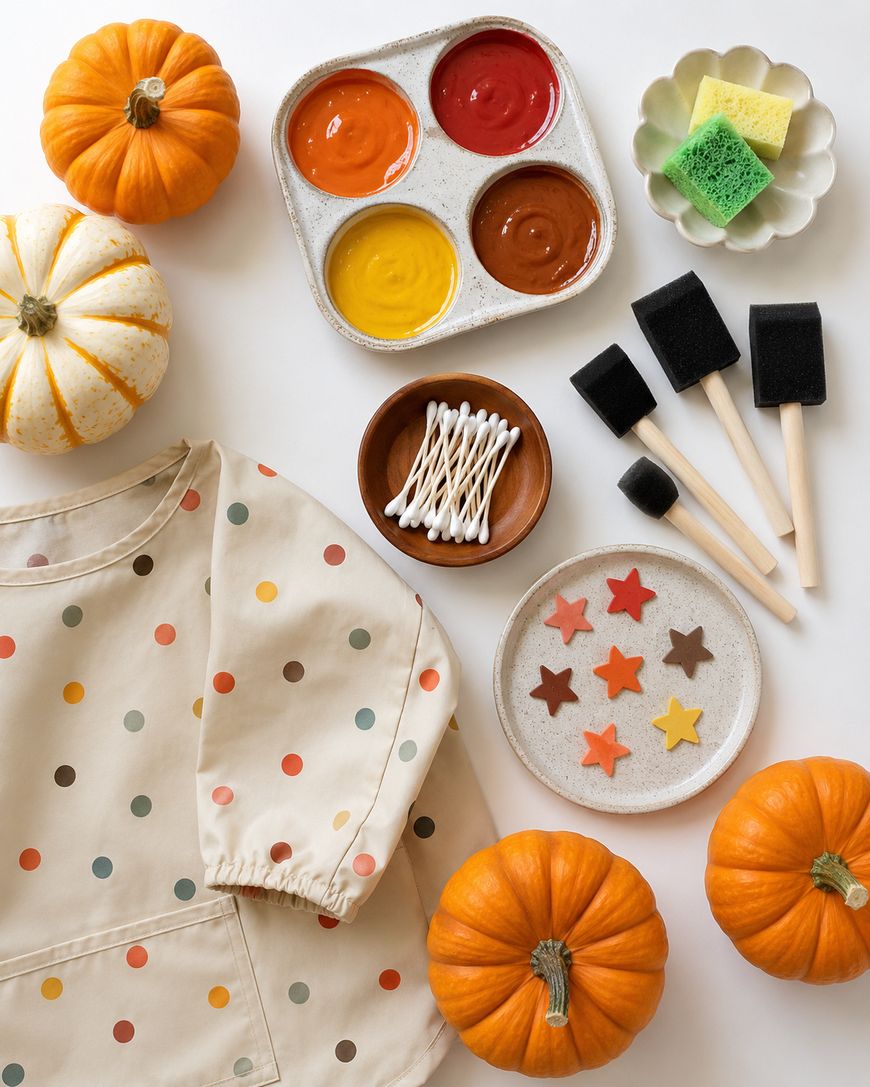
Washable tempera paint is your best friend here. It goes on thick, shows up brightly on orange pumpkin skin, and washes off little hands and tabletops with warm water and a cloth. Avoid craft acrylics for very young toddlers since they dry fast and stain clothing.
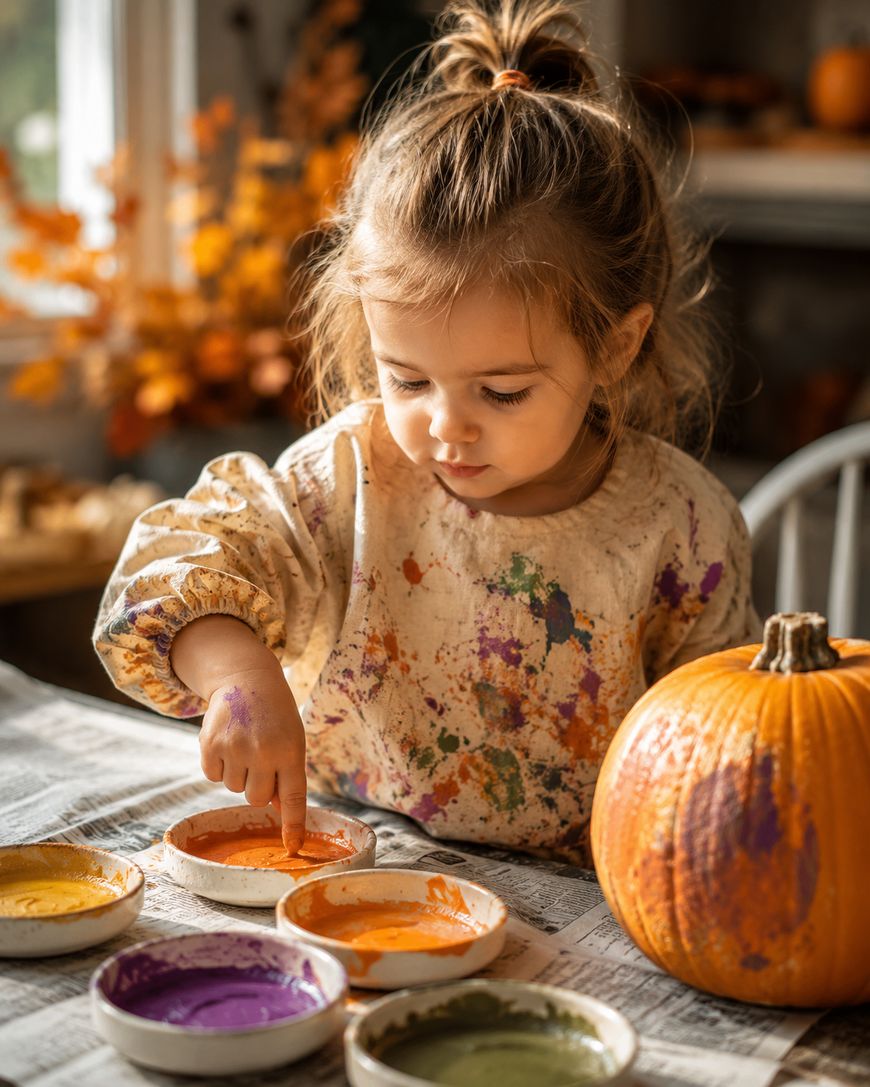
Grab a mix of foam brushes, regular paintbrushes, and sponge pieces so your toddler has options. A plastic tablecloth or a stack of old newspapers under the pumpkin saves your table. Smocks or old shirts keep clothes protected, and a bucket of warm soapy water nearby means you can quickly wipe hands between colors.
Mini pumpkins work wonderfully because toddlers can hold them in one hand and rotate them easily. If you want a bigger display pumpkin, go for a smooth-skinned variety rather than a bumpy or ribbed one, as paint applies much more evenly on a flat surface.
Toddler Pumpkin Painting Ideas to Try This Fall
Handprint and Footprint Pumpkins
This is one of the most beloved toddler pumpkin painting ideas because the finished result becomes a genuine keepsake. Paint your toddler’s hand or foot and press it onto the pumpkin to create turkeys, spiders, ghosts, or simple colorful prints.
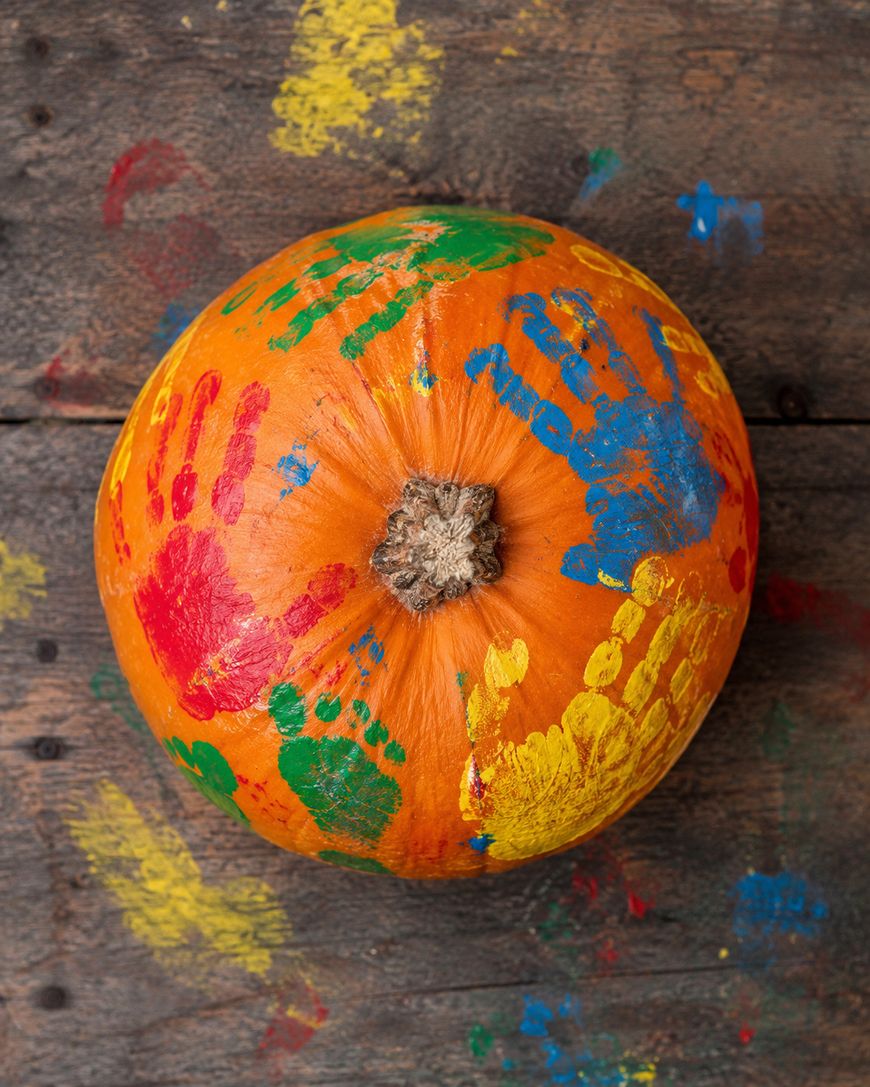
For a turkey, press a handprint in brown paint and then add a little face with a red wattle and a beak using a small brush once the print dries. For a ghost, use a white footprint and dot on tiny black eyes. The whole process takes about ten minutes, and the memory it creates lasts forever.
Dot Painting with Q-Tips or Fingers
Dot painting is one of the most toddler-friendly techniques because it requires zero precision and produces gorgeous results. Dip a Q-tip or fingertip into paint and press dots all over the pumpkin in any pattern.
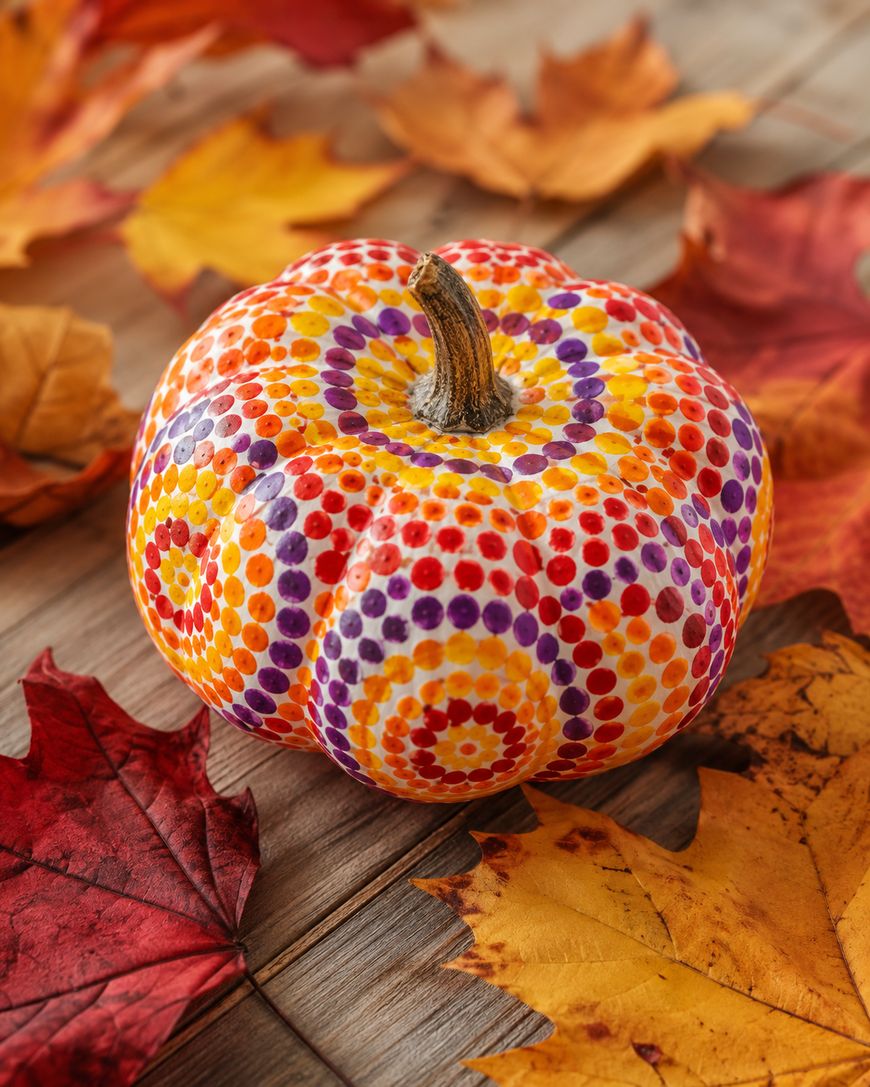
You can set out a few colors and let your toddler freestyle, or suggest a simple theme like a rainbow of dots going from the stem to the bottom. Overlapping dots create beautiful blended effects, and the repetitive motion is wonderfully calming for little ones. This technique is especially great for 18-month-olds who are just getting started with paint.
Sponge Stamping Pumpkins
Cut kitchen sponges into simple shapes like stars, hearts, or circles and set them out alongside shallow dishes of paint. Your toddler dips the sponge in the paint and stamps it onto the pumpkin, building up layers of shapes in different colors.
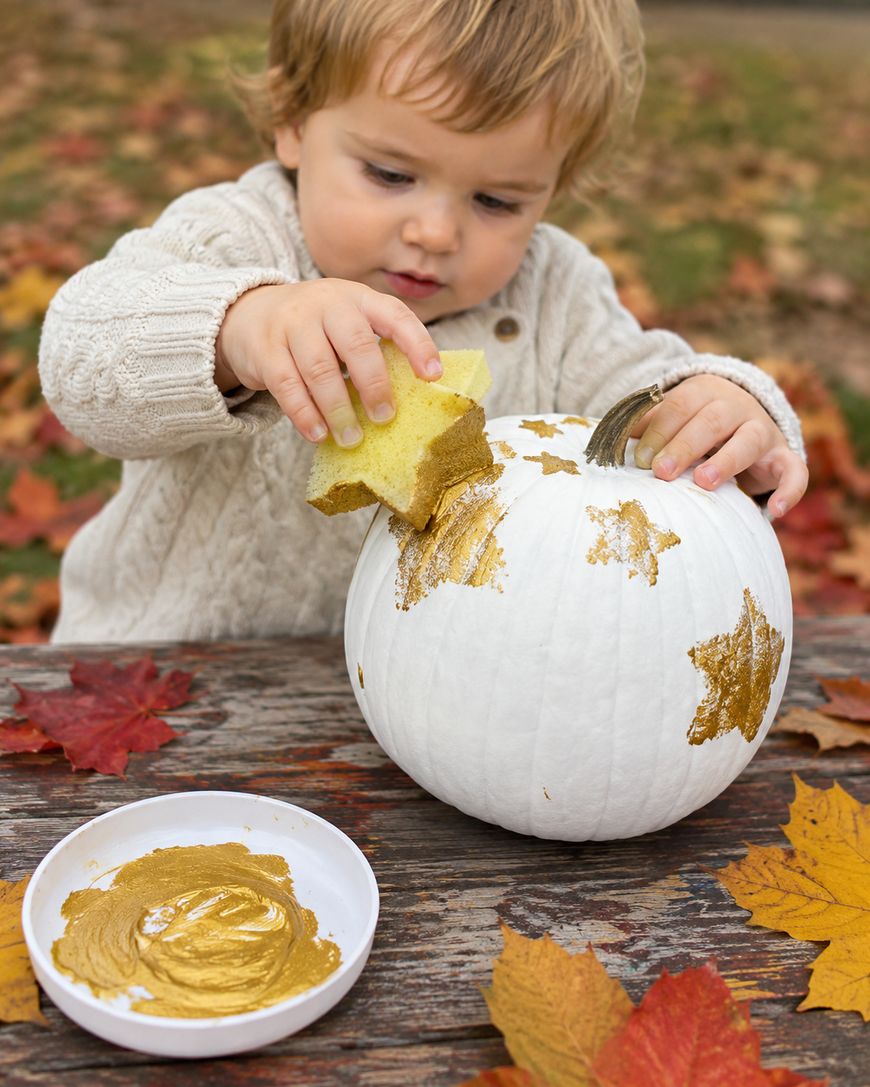
This technique works well because sponges are easy for small hands to grip and the results look intentional and cheerful even with a toddler at the helm. You can also use cookie cutters as stamps if you press them into a foam pad soaked in paint. Halloween shapes like bats and moons are especially fun for this.
Rainbow Swirl Pumpkins
For toddlers who love bold, colorful results, the rainbow swirl method is endlessly satisfying. Squeeze several colors of paint directly onto the pumpkin in stripes or dots, then let your toddler use their fingers or a wide brush to swirl everything together.
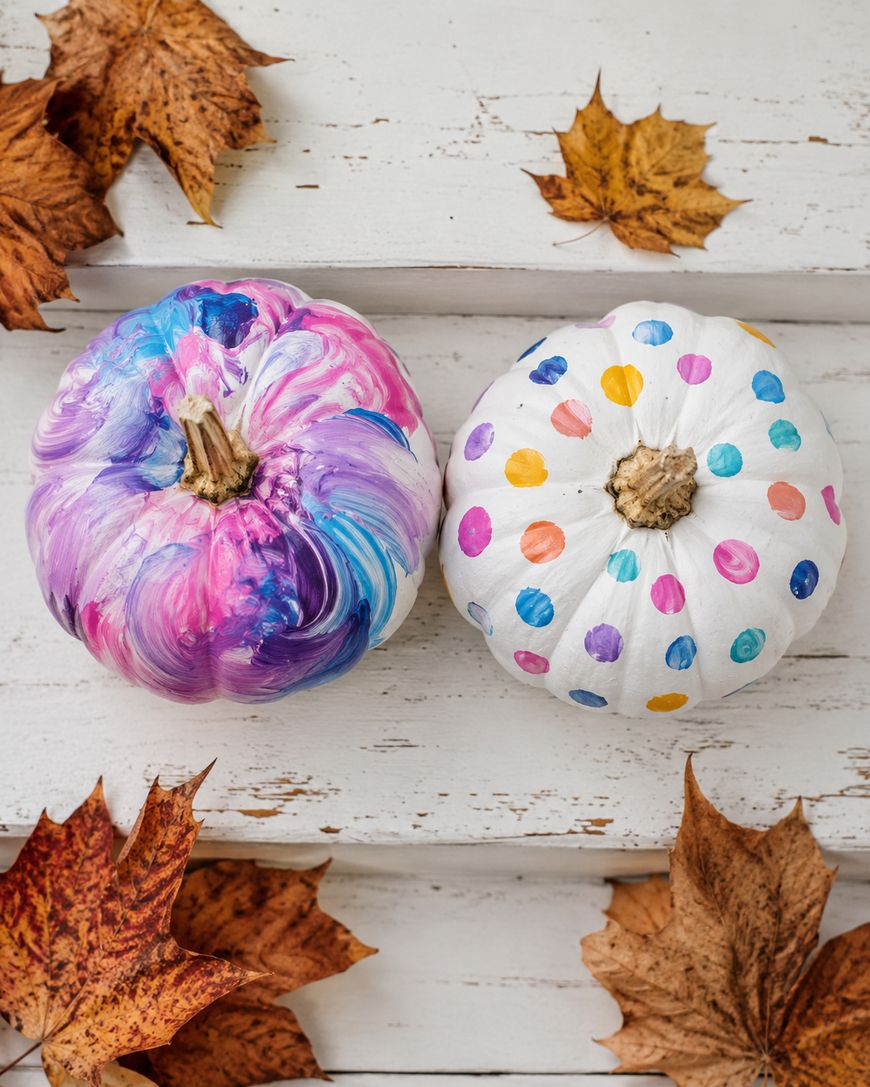
The colors blend into each other creating beautiful, unpredictable patterns, and no two pumpkins ever look the same. This is a great activity for toddlers who love to get their hands messy, and it is genuinely one of the most visually stunning toddler pumpkin painting ideas you can try. Use primary colors for classic results or pastels for a softer, dreamy look.
Sticker Resist Pumpkins
This technique requires a tiny bit of grown-up prep but produces a result that looks almost professional. Place stickers — stars, hearts, dots, letters — all over the pumpkin before your toddler paints.
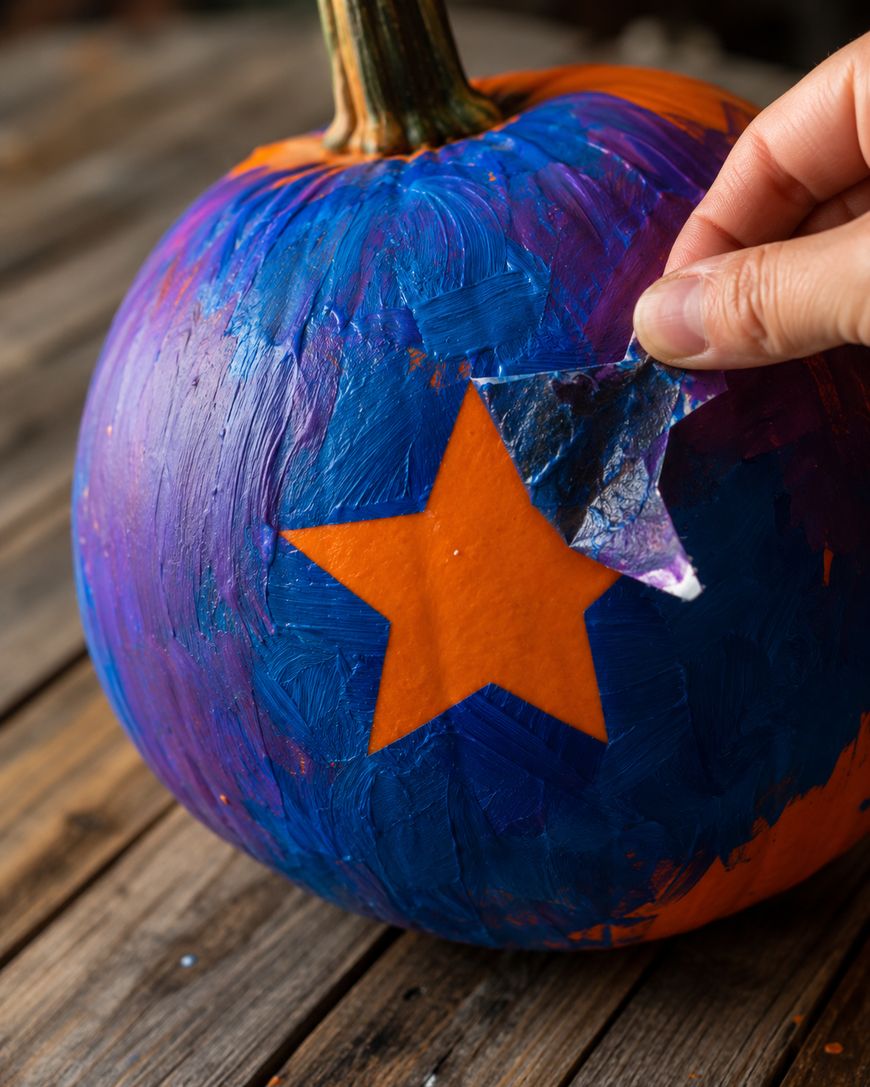
Your toddler then paints right over everything in whatever colors they choose. Once the paint is fully dry, peel off the stickers to reveal crisp, clean shapes underneath in the orange pumpkin skin color. Toddlers are absolutely delighted by the big reveal moment, and this makes a beautiful display piece for your fall porch or mantel.
Glitter and Metallic Pumpkins
For a little extra sparkle, let your toddler paint the pumpkin in white or black tempera first and then shake on craft glitter while the paint is still wet. Gold and silver glitter on a black pumpkin looks dramatic and elegant, while rainbow glitter on white is festive and fun.
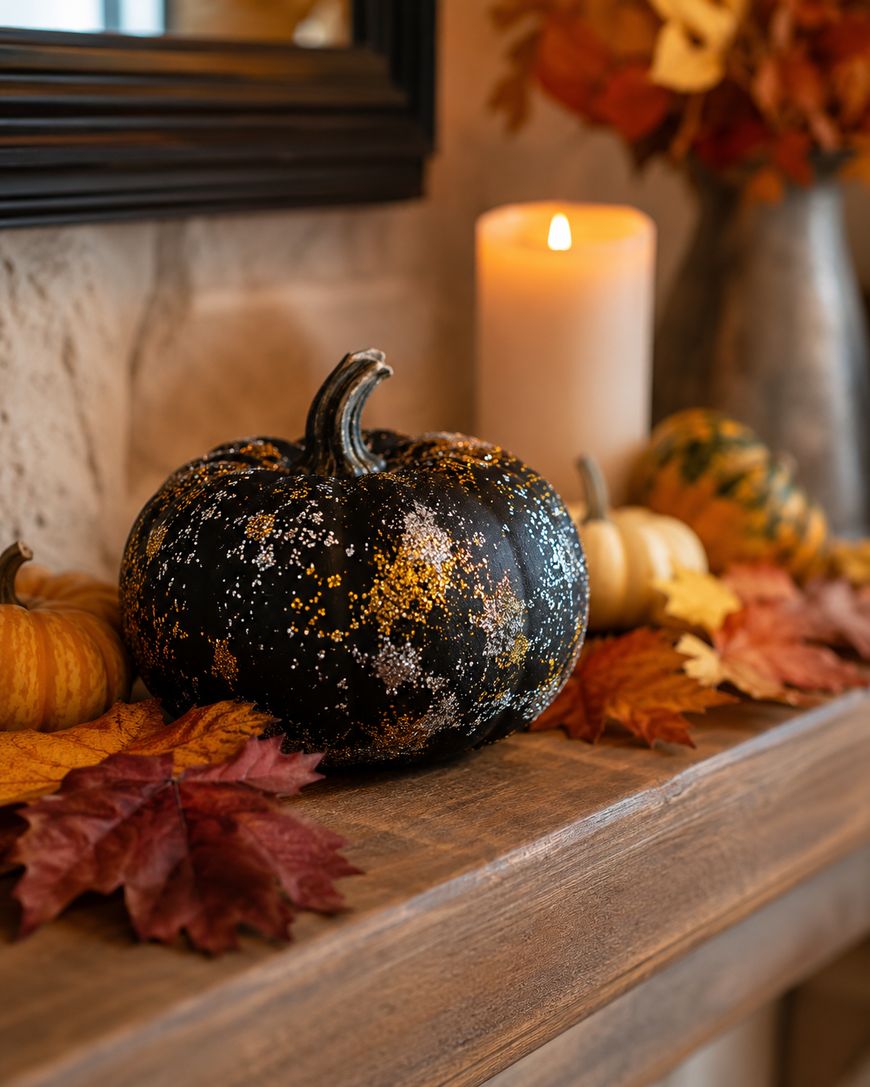
Metallic tempera paints are another great option — they go on like regular paint but dry to a shimmery, eye-catching finish that holds up well outdoors. Your toddler gets the same painting experience but the end result looks a little more grown-up on your fall display.
Setting Up for Success: Tips for Painting with Toddlers
The setup matters just as much as the activity itself. Give yourself ten minutes to get everything ready before you bring your toddler to the table, because toddlers do not wait patiently while you hunt for paper towels.
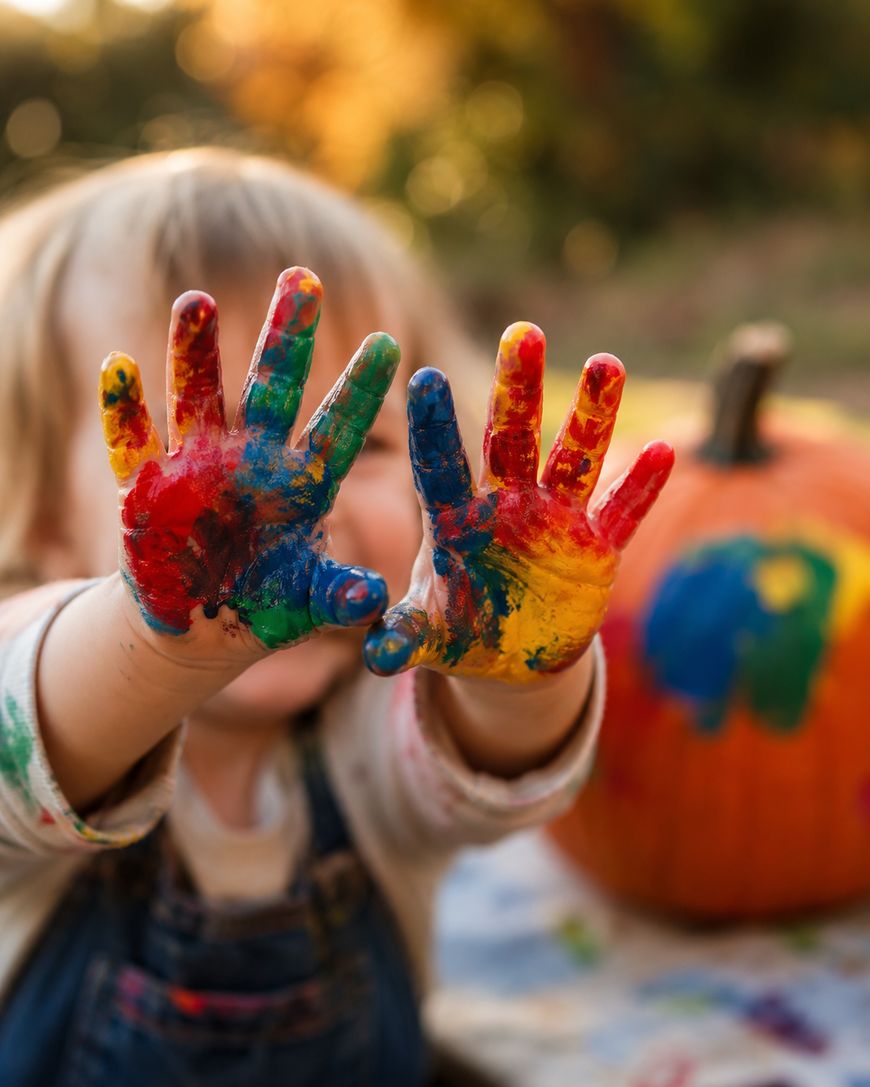
Cover your surface generously, set out no more than three or four colors at a time to avoid instant brown mud, and put only a small amount of paint in each dish so you can refresh as needed. If your toddler tends to eat paint, choose non-toxic, food-safe options or consider using natural food coloring mixed into white tempera as a safer base.
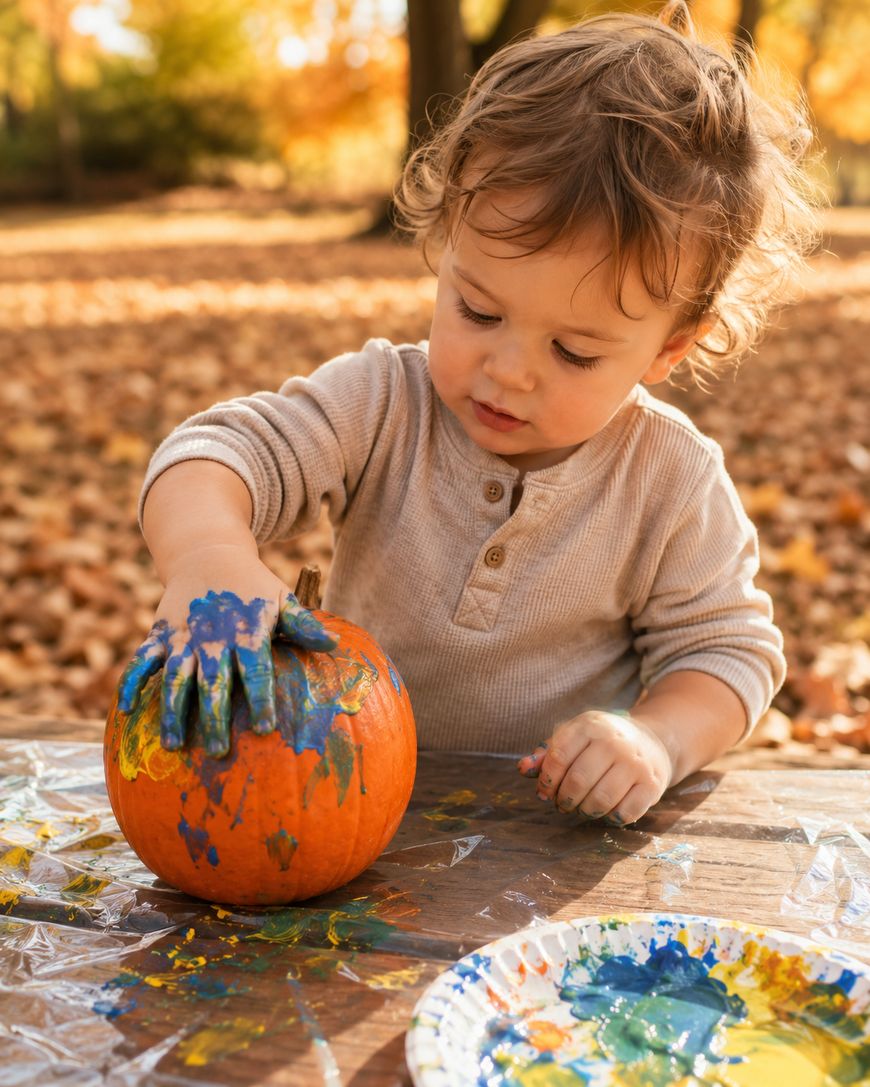
Work outside if the weather allows, because an outdoor pumpkin painting session is simply more relaxing for everyone involved. The hose is right there for cleanup, there is no rug to worry about, and the fall air makes the whole thing feel like an event.
Keep sessions short — fifteen to twenty minutes is often plenty for toddlers — and follow their lead on when they are done. A pumpkin that gets painted for ten minutes and then abandoned is still a success, and your toddler will be proud to see it on display.
Displaying and Preserving Your Toddler’s Painted Pumpkin
Once the paint is fully dry, spray the finished pumpkin with a coat of clear acrylic sealer to protect the paint from rain and morning dew if it lives outside. This keeps the colors vivid for the full season and prevents the paint from flaking or peeling.
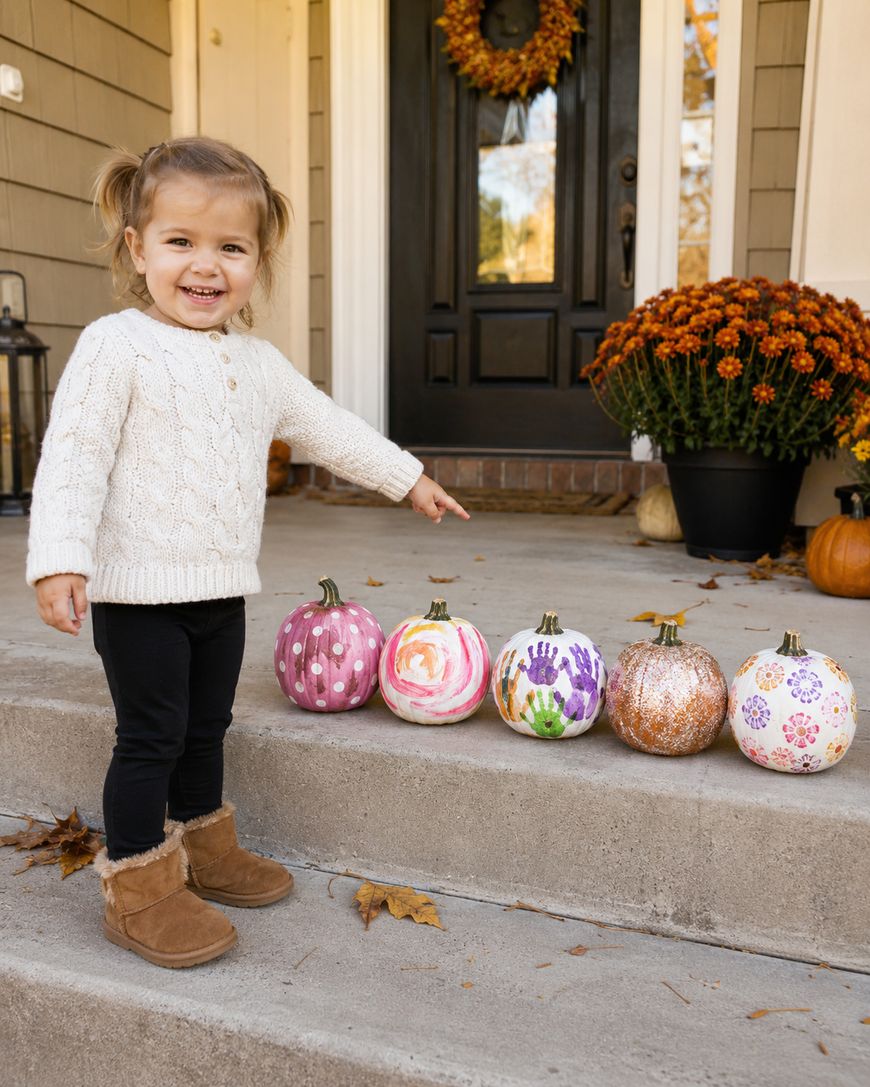
Display your toddler’s pumpkin at their eye level if possible — on a low step, a garden wall, or a small decorative stand — so they can appreciate their own work every time they walk by. You will be surprised how much pride a two-year-old takes in seeing their creation on the front porch.
Photograph the finished pumpkin alongside your toddler for a fall memory you will treasure. These photos become incredibly special as the years pass and the little hands grow bigger.
Frequently Asked Questions About Toddler Pumpkin Painting
What kind of paint is best for toddler pumpkin painting?
Washable tempera paint is the best choice for toddlers because it is non-toxic, washes off skin and clothing easily, and adheres well to pumpkin skin. Avoid acrylics with very young toddlers since they dry quickly and can stain. Always check the label to confirm the paint is non-toxic before use.
How do you keep paint from peeling off a pumpkin?
The best way to prevent peeling is to wipe the pumpkin clean and dry before painting and to apply a thin coat of white gesso or white paint as a base layer. Once your toddler’s painting is fully dry, seal it with a clear acrylic spray to protect the paint from moisture and help it last through the season.
Can a 1-year-old paint a pumpkin?
Yes, with close supervision and non-toxic paint, even a 1-year-old can enjoy pumpkin painting. Finger painting and hand or footprint stamps are the most age-appropriate techniques for this age. Keep the session brief and have a warm, damp cloth handy for quick cleanups. Choose paint that is clearly labeled non-toxic.
How long does a painted pumpkin last?
A painted pumpkin typically lasts two to four weeks outdoors, similar to an undecorated pumpkin. Sealing the paint with a clear acrylic spray helps the paint hold up, but the pumpkin itself will eventually soften and decay. Keep it in a cool, dry spot and bring it inside during heavy rain for a longer display life.
Do you need to seal a painted pumpkin?
Sealing is not strictly required, but it is highly recommended if your pumpkin will live outside. A clear acrylic spray sealer protects the paint from rain and morning moisture and keeps the colors looking bright throughout the fall season. For indoor pumpkins, you can skip the sealer if you prefer.
Can you use acrylic paint on pumpkins with toddlers?
You can use non-toxic acrylic paint for older toddlers who are no longer likely to put their hands in their mouths, but washable tempera is the safer and more practical choice. Acrylics dry very quickly, which can frustrate little ones who work slowly, and they are more difficult to remove from clothing and surfaces.
Make Pumpkin Painting a Fall Tradition
Toddler pumpkin painting ideas are most special when they become a yearly ritual your family looks forward to every fall. Set up your station at the same time each year, pull out the photos from the year before, and watch your child grow more confident and creative with every October that passes.
Whether you try handprints this year or go all in with glitter and metallic paint, the most important thing is to let your toddler lead the way and enjoy the process together. Grab your pumpkins, lay out the paint, and make some beautiful fall memories this season.



Leave a Reply