Last updated: August 20, 2026
You want a craft that keeps small hands busy without turning your kitchen table into a glitter disaster zone. These santa handprint crafts use supplies you probably already own, and every single one doubles as a keepsake you will want to save for years.
1. Classic Handprint Santa Face
This is the one that started it all, and it is still the easiest place to begin. Press your child’s palm into red paint and stamp it onto white cardstock with the fingers pointing down.
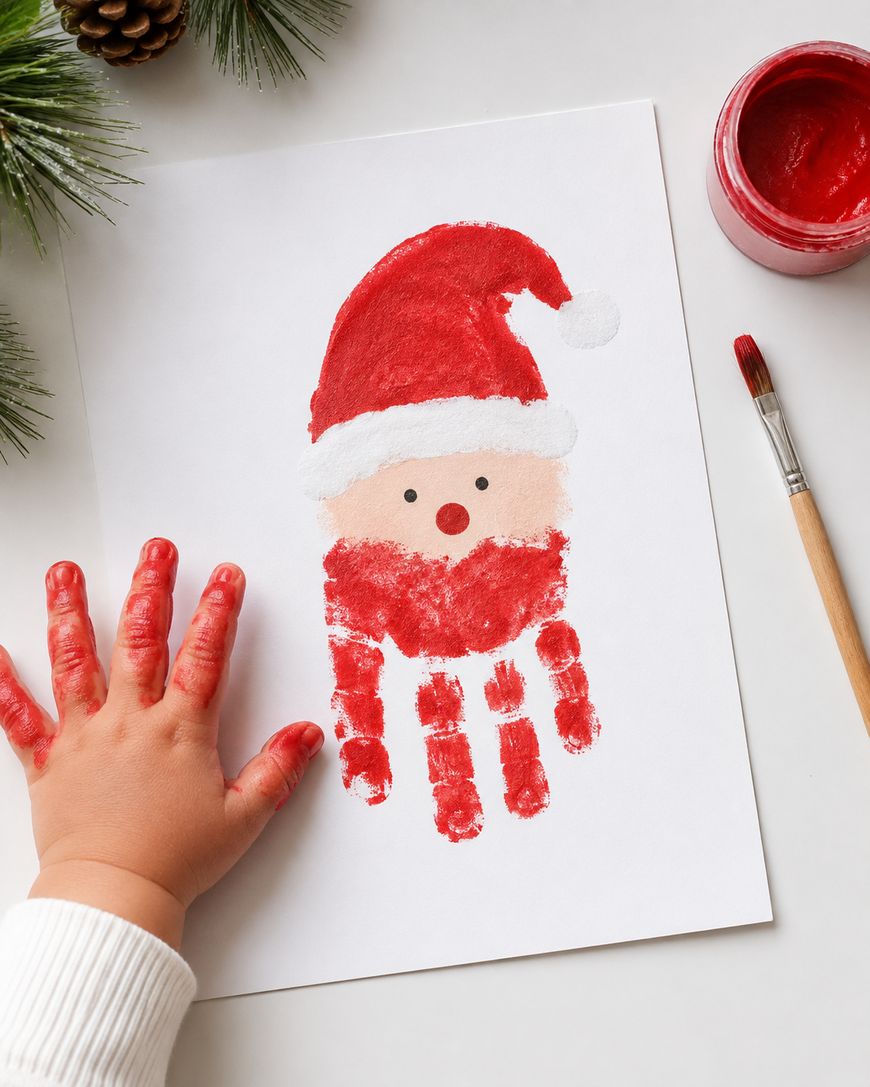
Once it dries, the fingers become Santa’s beard and the palm becomes his face. Add cotton balls or white pom-poms along the fingertips for texture, then glue on wiggle eyes and a small pink circle for the nose.
You only need four supplies: red paint, white paper, cotton balls, and glue. That makes this the fastest of all the santa handprint crafts on this list, which is perfect for a rushed weeknight activity.
2. Handprint Santa Ornament
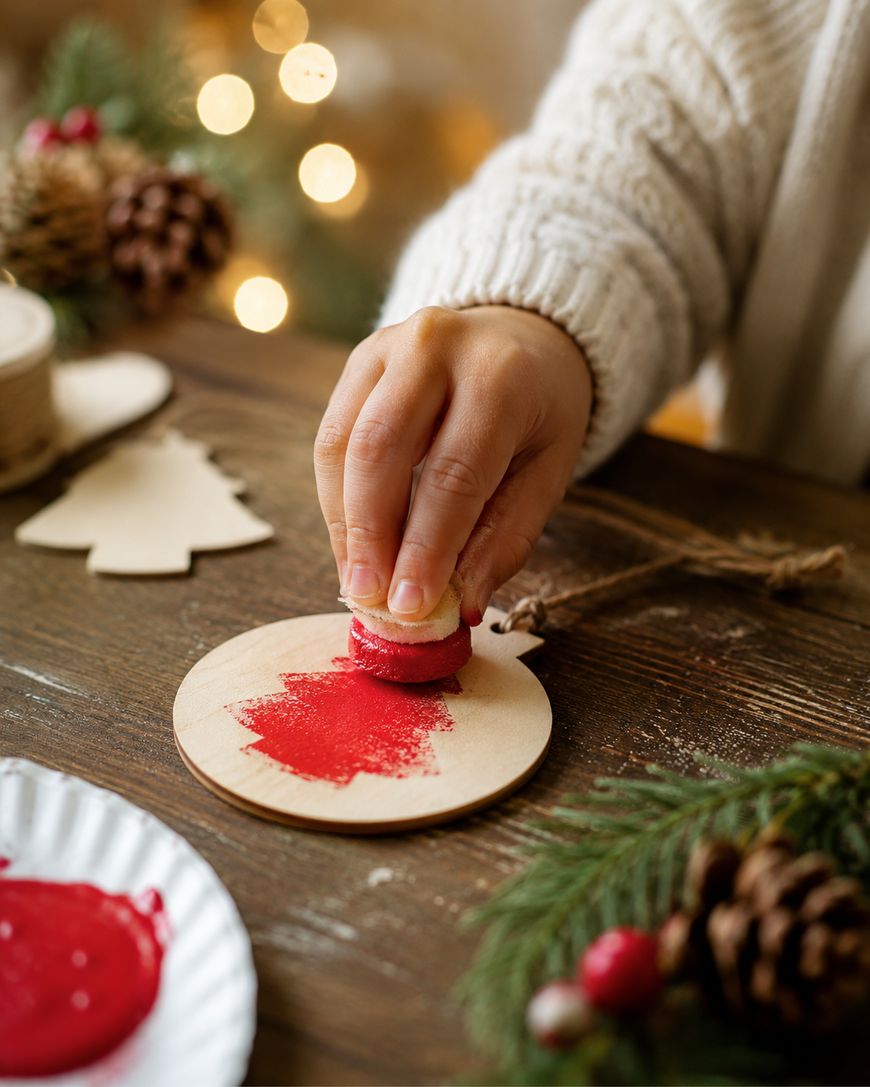
Turn the same basic technique into something that hangs on your tree every year after. Stamp the handprint onto a wooden or cardstock ornament blank instead of flat paper.
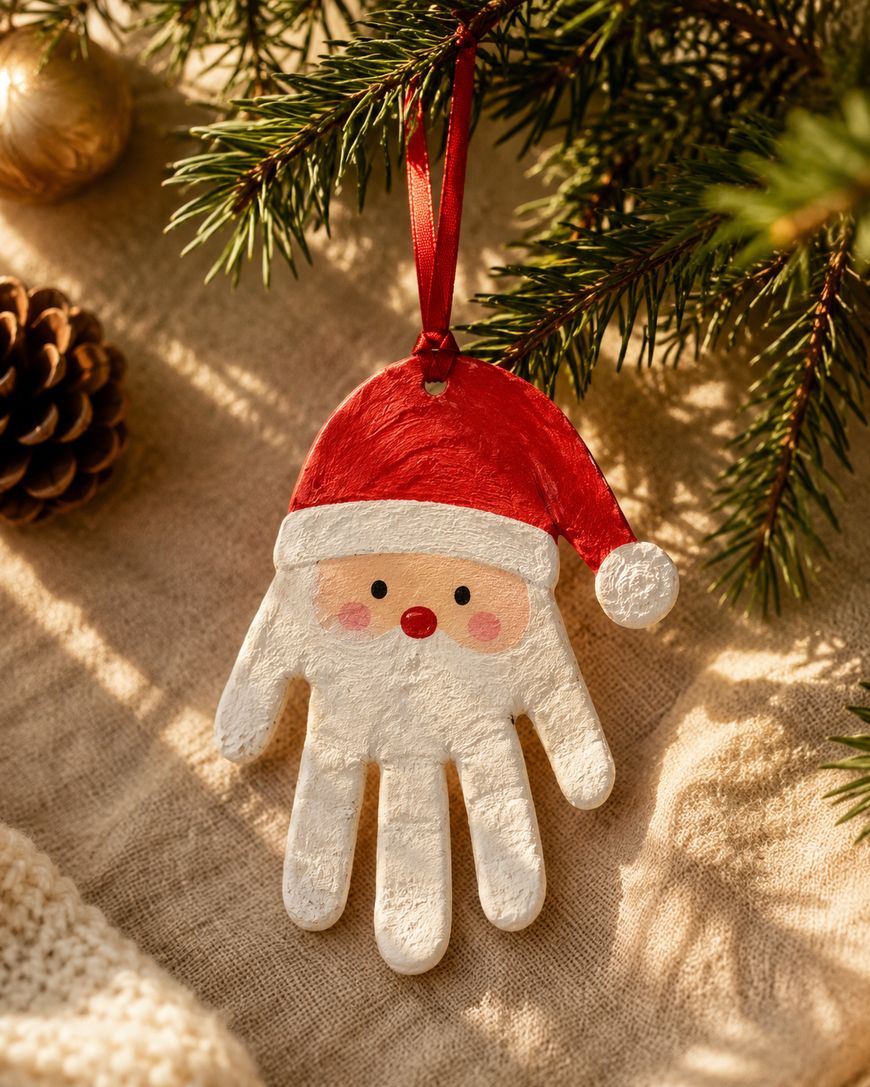
Seal it with a layer of clear Mod Podge once the paint dries completely, then attach a ribbon loop at the top. Because ornaments get handled and rehung annually, this version needs a sturdier base than plain paper, so wood slices or thick chipboard work best.
Write the child’s age and the year on the back in permanent marker. That small detail turns a simple craft into a dated keepsake you can line up on a shelf.
3. Reindeer-to-Santa Card Combo
Kids love comparing their own growth, so this craft stamps two prints side by side. One handprint becomes a brown reindeer with antlers drawn from the fingers, and the second becomes the classic red Santa face.
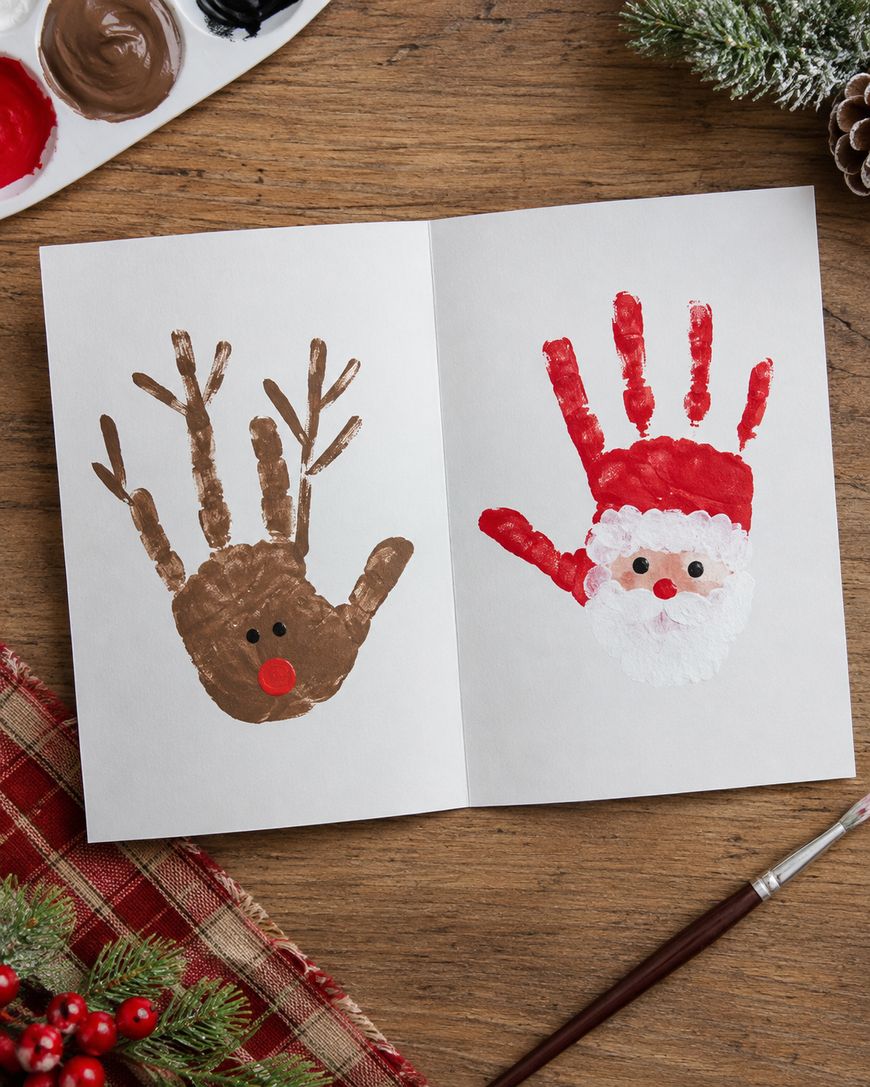
Fold a piece of cardstock in half first, then stamp one print on the front and let your child add a short handwritten message inside. Use a thin paintbrush instead of dipping the whole hand for the reindeer antlers, since fingers alone read as antlers once painted brown.
Mail these as holiday cards to grandparents or use them as place cards for a family dinner. Either way, you get two crafts worth of charm from a single sheet.
4. Footprint and Handprint Santa Sleigh
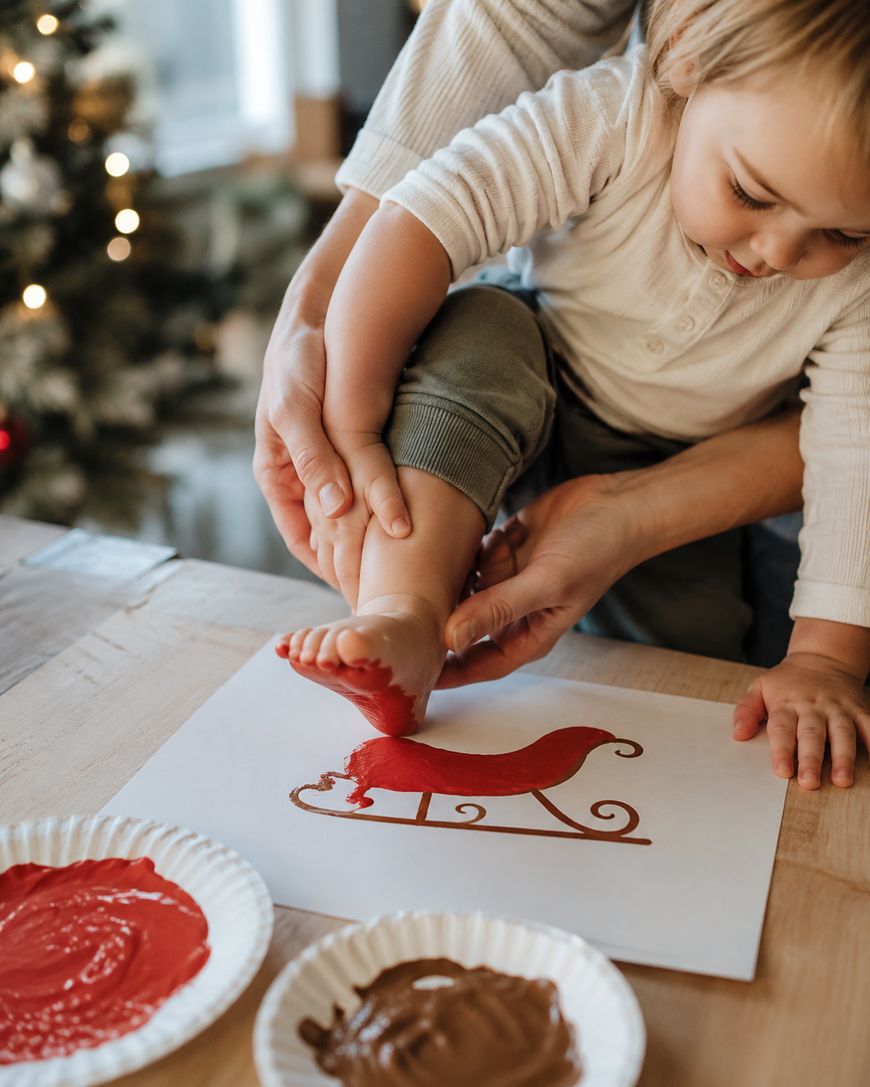
This variation adds footprints to build an entire sleigh scene, not just a face. Stamp a foot sideways to form the sleigh body, then use handprints for the reindeer pulling it along.
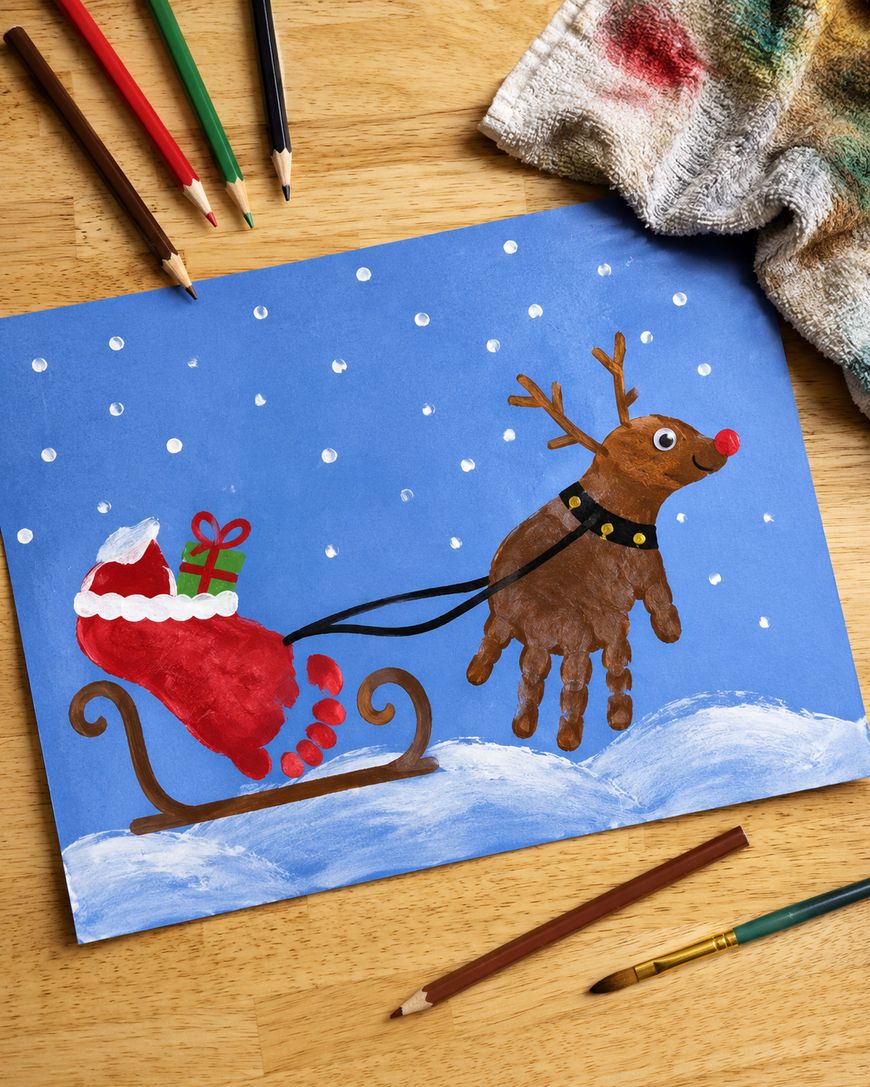
Draw simple lines to connect the reindeer to the sleigh and add a small red dot for each reindeer’s nose. Because this project uses both hands and feet, keep a damp washcloth nearby for quick cleanup between prints.
Older siblings can help arrange the layout before the paint goes on, which makes this a nice project for mixed-age groups. Toddlers still get the fun of stamping while a bigger kid handles the planning.
5. Santa Handprint Canvas for Wall Art
If you want something more permanent than a card, stamp the handprint directly onto a small canvas instead of paper. Acrylic paint holds up better on canvas than regular craft paint and resists cracking once it fully cures.
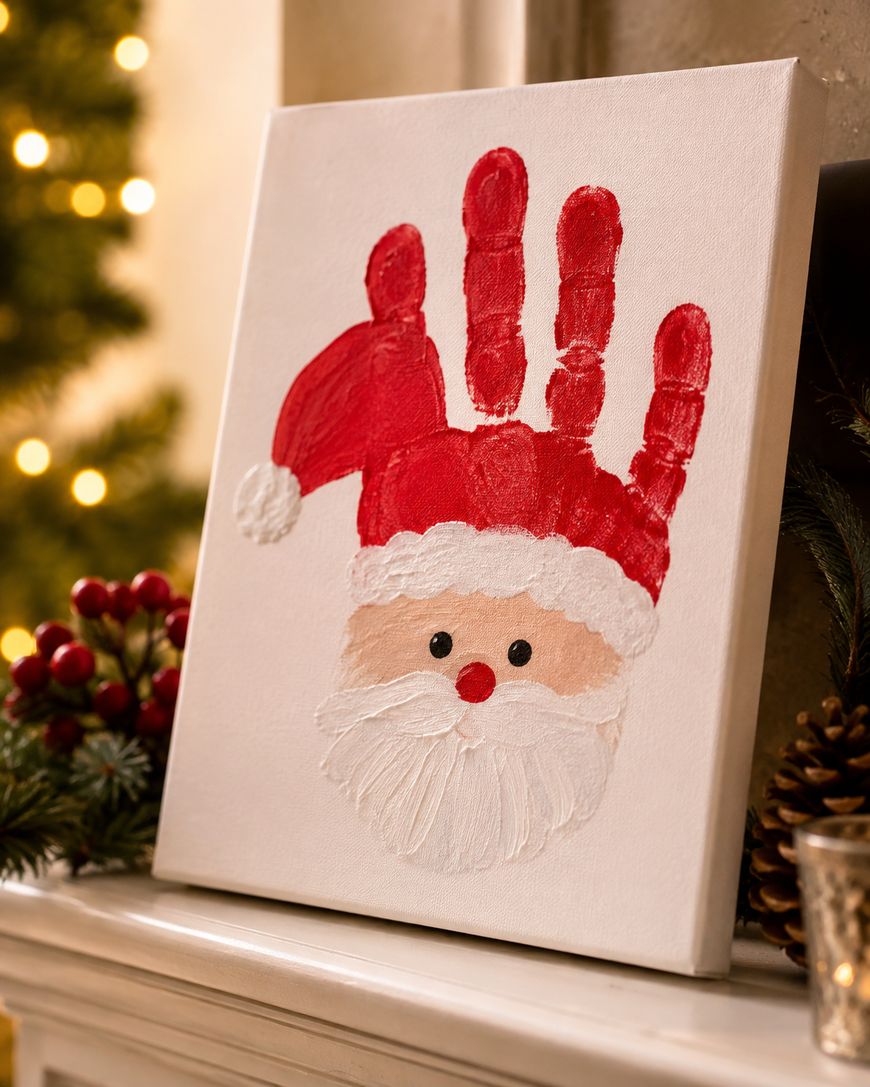
Frame the finished piece or lean it on a mantel shelf during the holiday season. Let the canvas dry flat for at least two hours before adding any glued details, or the extra weight can smudge the still-wet paint underneath.
Because canvas costs more than paper, this version works best as a once-a-year tradition rather than a quick throwaway craft. Many families repeat it annually and hang the growing collection together.
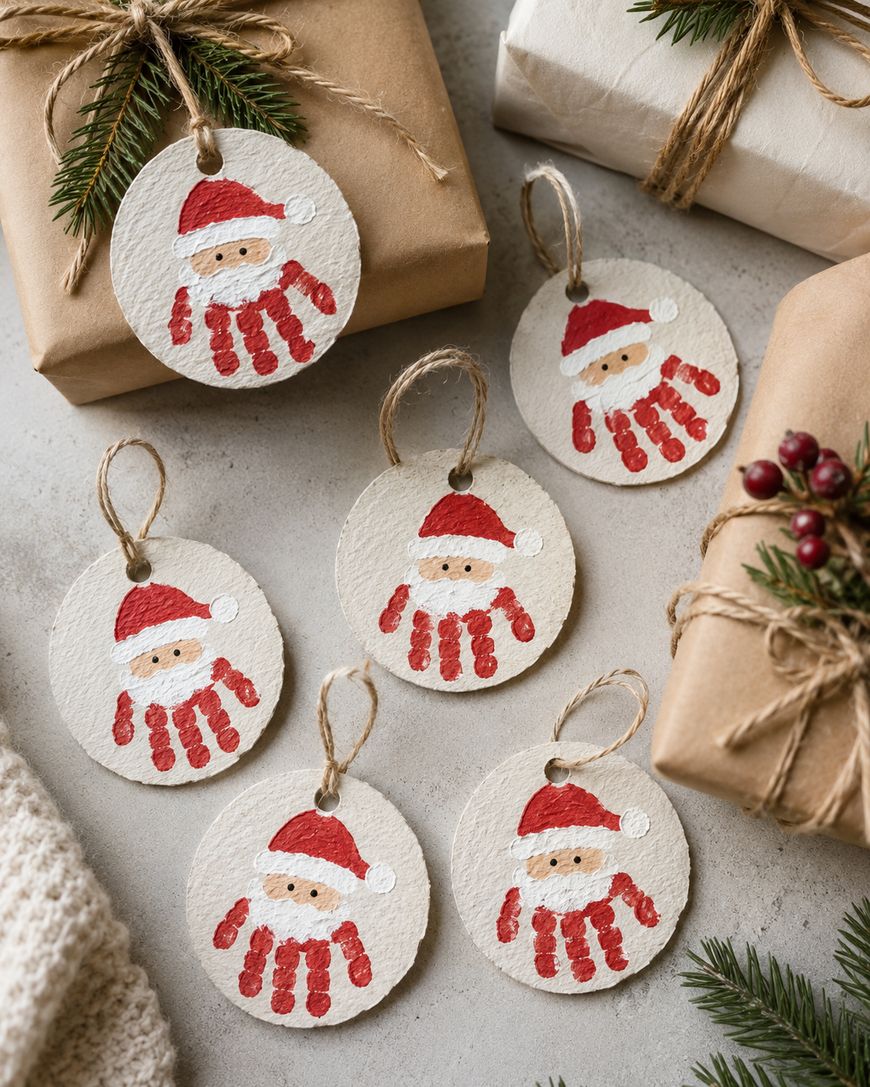
6. Handprint Santa Gift Tags
Shrink the same design down to gift-tag size for a personal touch on wrapped presents. Cut small circles or rectangles from cardstock and stamp a mini version of the handprint santa face on each one.
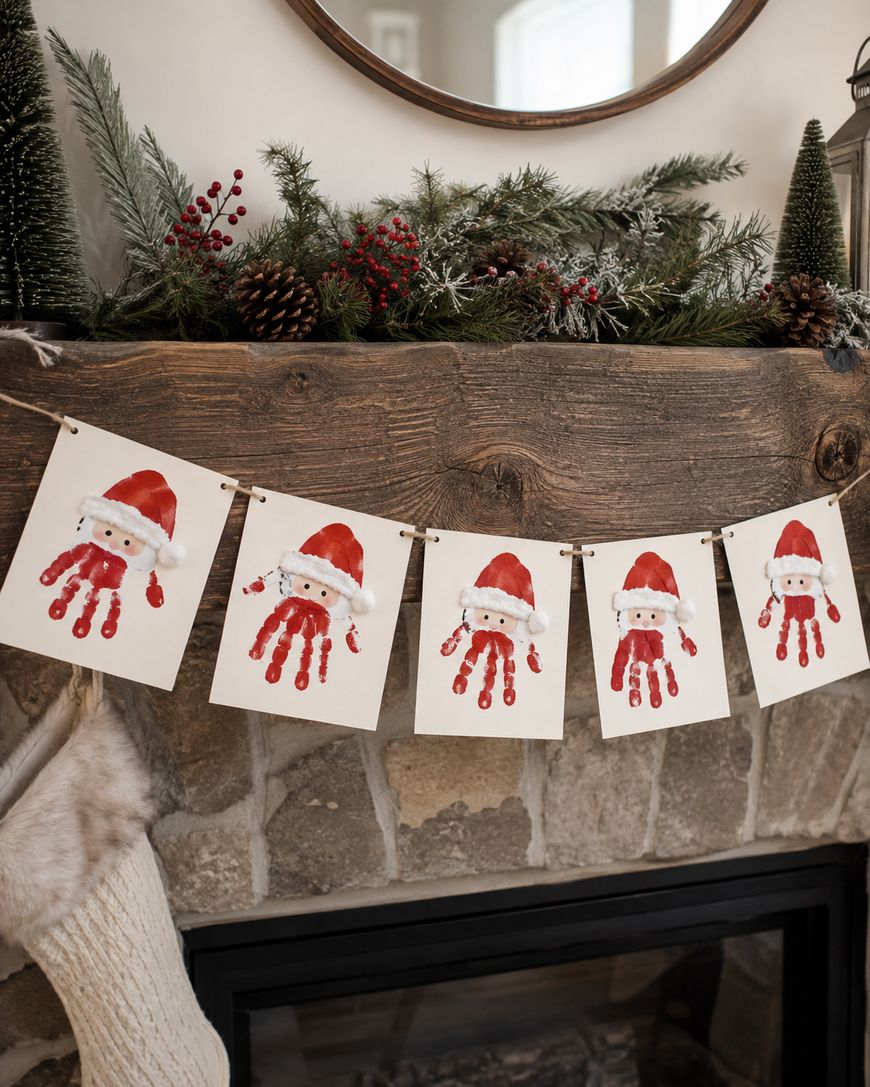
Punch a hole at the top and thread through twine or ribbon before tying it to a package. This is one of the few santa handprint crafts that produces multiple finished pieces from a single painting session, since kids can usually make five or six tags in the time it takes to make one full-size print.
Let the paint dry completely before punching the hole, or the paper can tear around the wet edges. A quick pass under a fan speeds this up if you are wrapping gifts the same afternoon.
7. Santa Handprint Puppet
Add movable parts to turn the craft into a toy your child can actually play with afterward. Stamp the handprint onto sturdy cardstock, cut it out once dry, and glue it to the back of a paper bag or a wooden craft stick.
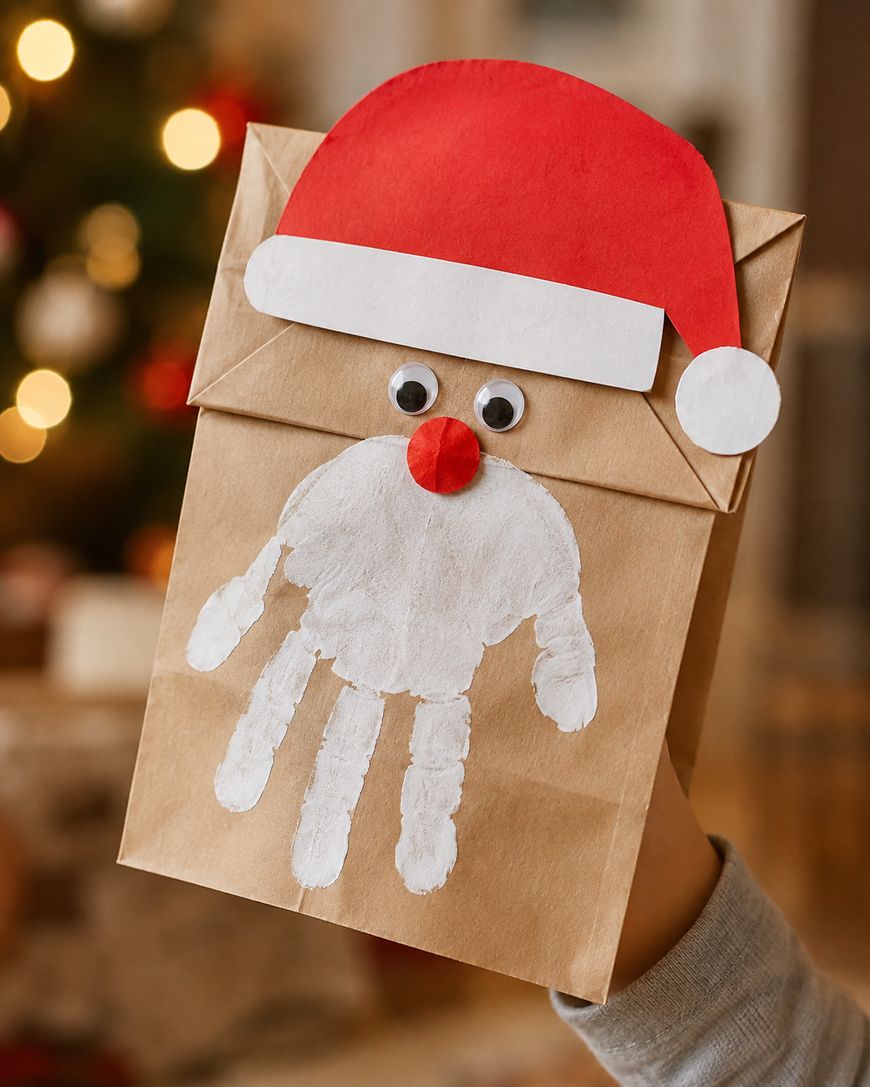
Attach the finished cutout with a brad instead of glue if you want the beard section to flap when squeezed, giving the puppet a bit of movement. Kids tend to keep these puppets around long after the holiday season ends, unlike flat crafts that usually get tucked away.
This project takes a little longer because of the extra cutting and assembly steps. Plan for it on a weekend afternoon rather than a quick after-school activity.
8. Family Handprint Santa Banner
Combine everyone’s handprints into one long banner strung across a mantel or doorway. Each family member stamps their own print onto a separate square of cardstock, then you connect the squares with twine or ribbon.
This works well for families who want one project the whole household can contribute to at once. Even a print from the family dog’s paw fits right in alongside the kids’ handprints, adding an unexpected bit of humor to the finished banner.
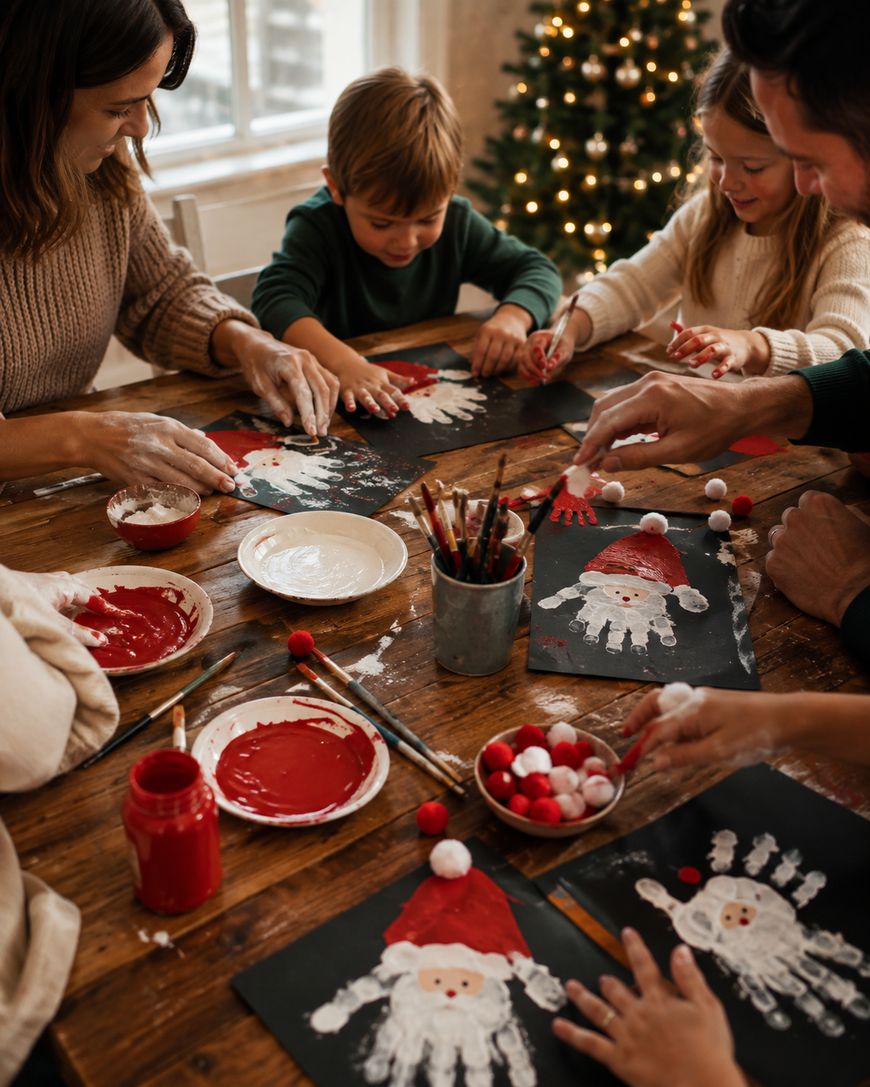
Hang the banner up on the same day each year and compare how much smaller (or bigger) everyone’s prints get over time. It becomes less about the craft itself and more about the yearly tradition of making it.
Why Handprint Crafts Stay a Holiday Favorite
Handprint crafts endure because they capture a moment in time that photos alone do not quite preserve. The size of a toddler’s palm this December will never look the same next year, and that built-in expiration date is exactly what makes these keepsakes feel special.
They also require almost no specialized skill from either the parent or the child. Anyone can press a hand into paint, which means these crafts work for a wide range of ages without needing to adjust the difficulty level much at all.
Frequently Asked Questions
What paint works best for santa handprint crafts?
Washable acrylic or tempera paint works best because it dries with solid, opaque color on cardstock. Avoid watercolors, since they tend to look streaky and translucent once stamped and dried.
How do I keep my child’s hand from smearing during stamping?
Press the hand down firmly in one motion rather than rocking it side to side. A helper holding the wrist steady also reduces smudging, especially with younger toddlers who tend to wiggle.
Can I preserve a handprint craft without it fading?
Yes, a light coat of clear sealant or Mod Podge over the finished, fully dried piece protects the color from fading. Store finished pieces away from direct sunlight for the best long-term results.
What age is best for handprint crafts?
Most of these projects work well starting around age one, once a child can tolerate having their hand painted and pressed briefly. Older kids can help with cutting, gluing, and adding details, which makes this a good multi-age activity.
How do I get paint off little hands quickly?
Keep a warm, damp washcloth within reach before you start, since paint wipes off easiest while still wet. A quick rinse with soap and water finishes the job for any paint that starts to dry on skin.
Can I do these crafts without paint at all?
Yes, tracing a hand onto paper and coloring it in afterward gives a similar shape without any mess. This works well for classroom settings or anywhere paint is not practical.
Bring the Whole Family Into the Fun
These santa handprint crafts turn a few basic supplies into keepsakes your family will treasure for years to come. Pick one from this list, gather your paint and cardstock, and let the kids get their hands a little messy this holiday season.

Leave a Reply