Last updated: August 18, 2026
Organized craft supplies are not just about a tidy house. When kids can actually find what they need, they spend more time creating and less time frustrated and rummaging through bins.
A well-organized craft space also encourages independence. Younger children can help themselves to supplies without needing an adult to track down the glue stick or the safety scissors every single time.
Beyond creativity, an organized setup makes cleanup faster. When everything has a home, kids are far more likely to put things away because the task feels manageable rather than overwhelming.
You will also waste less money. Knowing what you already have means you stop buying duplicate markers and extra tape that gets buried and forgotten.
How to Sort Craft Supplies Before You Organize
Before you buy a single bin or shelf, you need to sort everything you already own. Pull every supply out and lay it on the table so you can see the full picture.
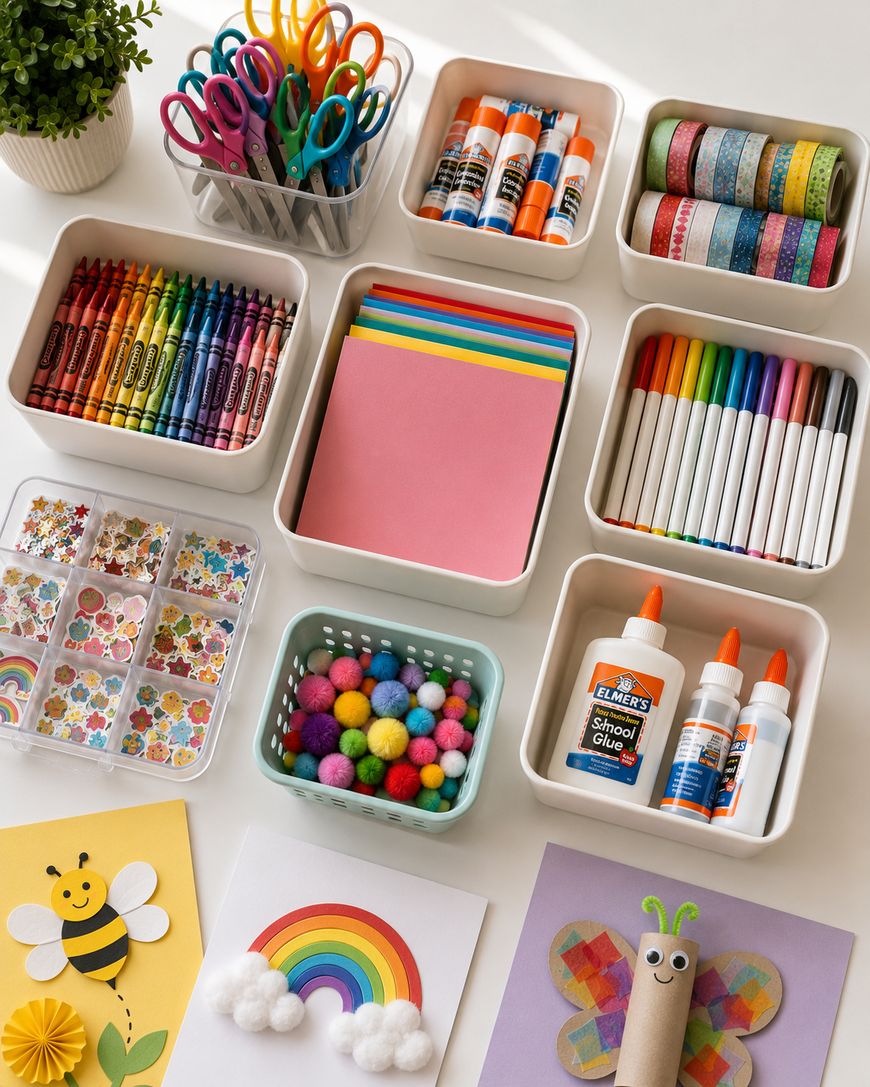
Group items by type: paper, drawing tools, adhesives, scissors, ribbon and string, paint, stickers, and miscellaneous. This step alone will reveal how much of each category you actually have.
Toss anything that is dried up, broken, or missing pieces. Dried-out markers and empty glue sticks take up space without serving any purpose.
Once you know what you are working with, you can right-size your storage solution. Many families discover they need far fewer containers than they expected once the true count is clear.
Involve the Kids in the Sorting Process
Getting kids involved in sorting creates buy-in. When they help decide where things go, they are more likely to follow the system later on.
Let them group their own supplies and label the containers themselves. Even young children can draw a picture of what goes inside a bin if they are not yet reading.
Older kids can help create a simple inventory. Knowing what they have often sparks new project ideas and reduces the constant request for more supplies.
The Best Storage Systems for Kids Crafts Organization
The right storage system depends on how much space you have and how your family actually uses supplies. There is no single right answer, but a few frameworks work well in most homes.
Clear Bins and Stackable Containers
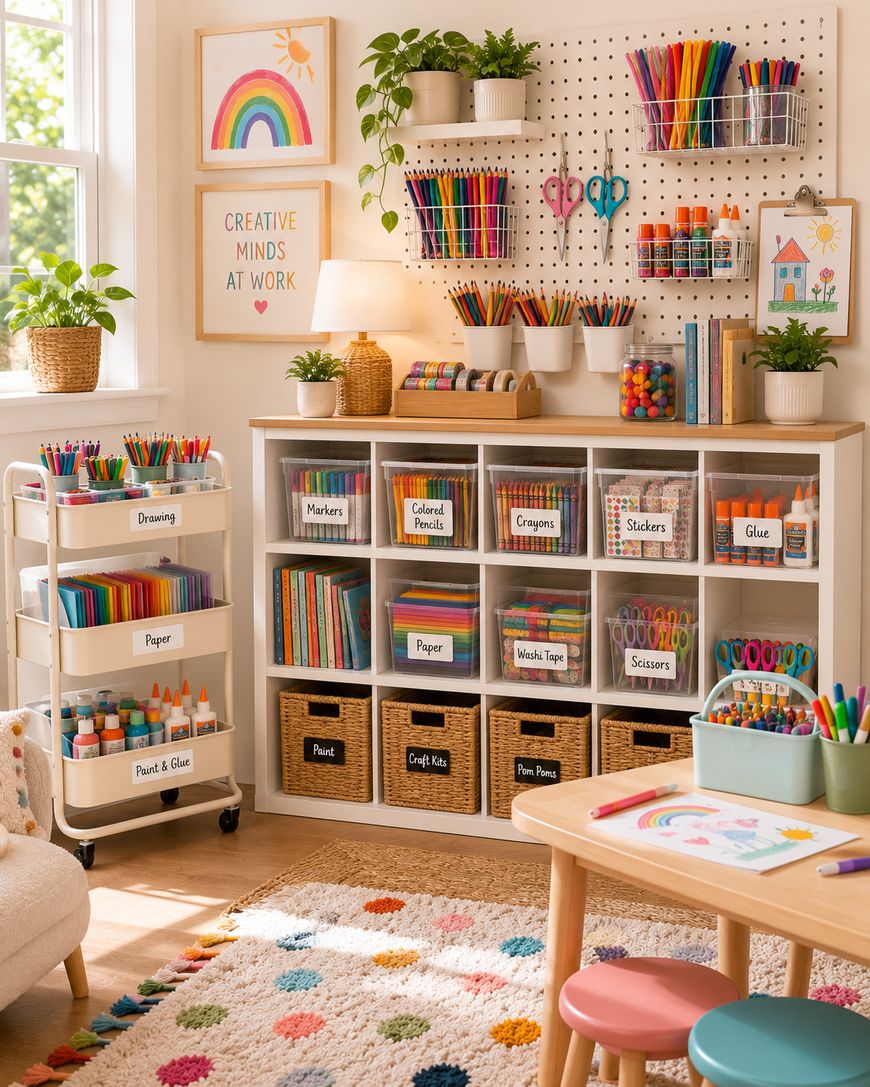
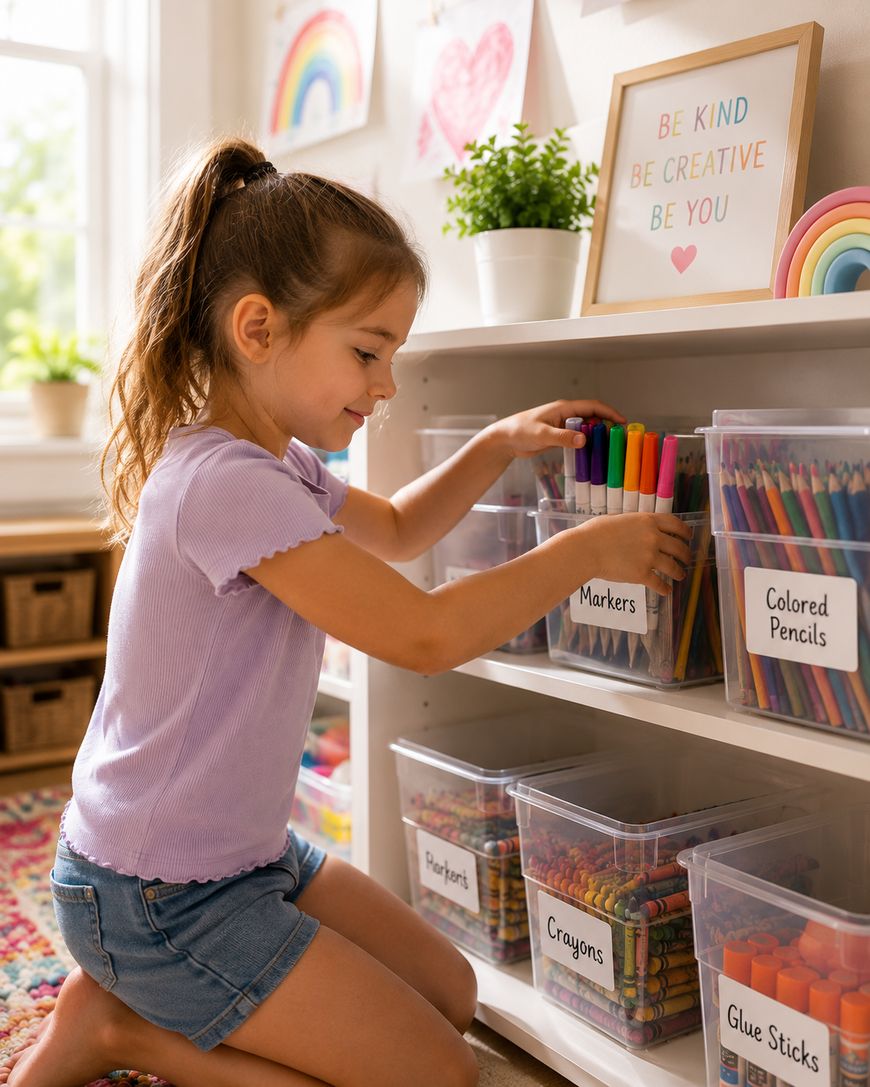
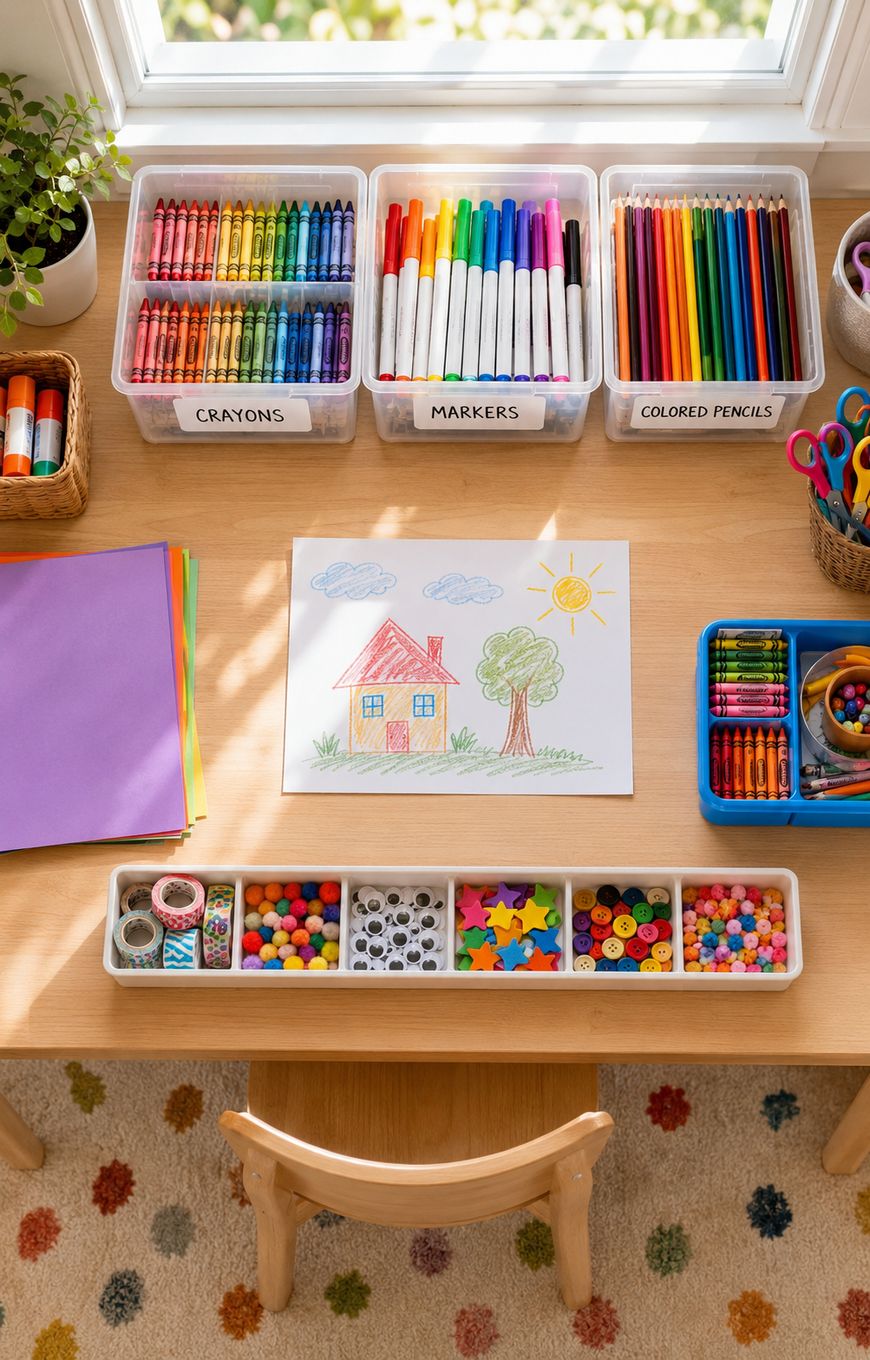
Clear bins are one of the most effective tools for kids crafts organization because kids can see exactly what is inside without opening anything. Stackable options make the most of vertical space in closets or on shelves.
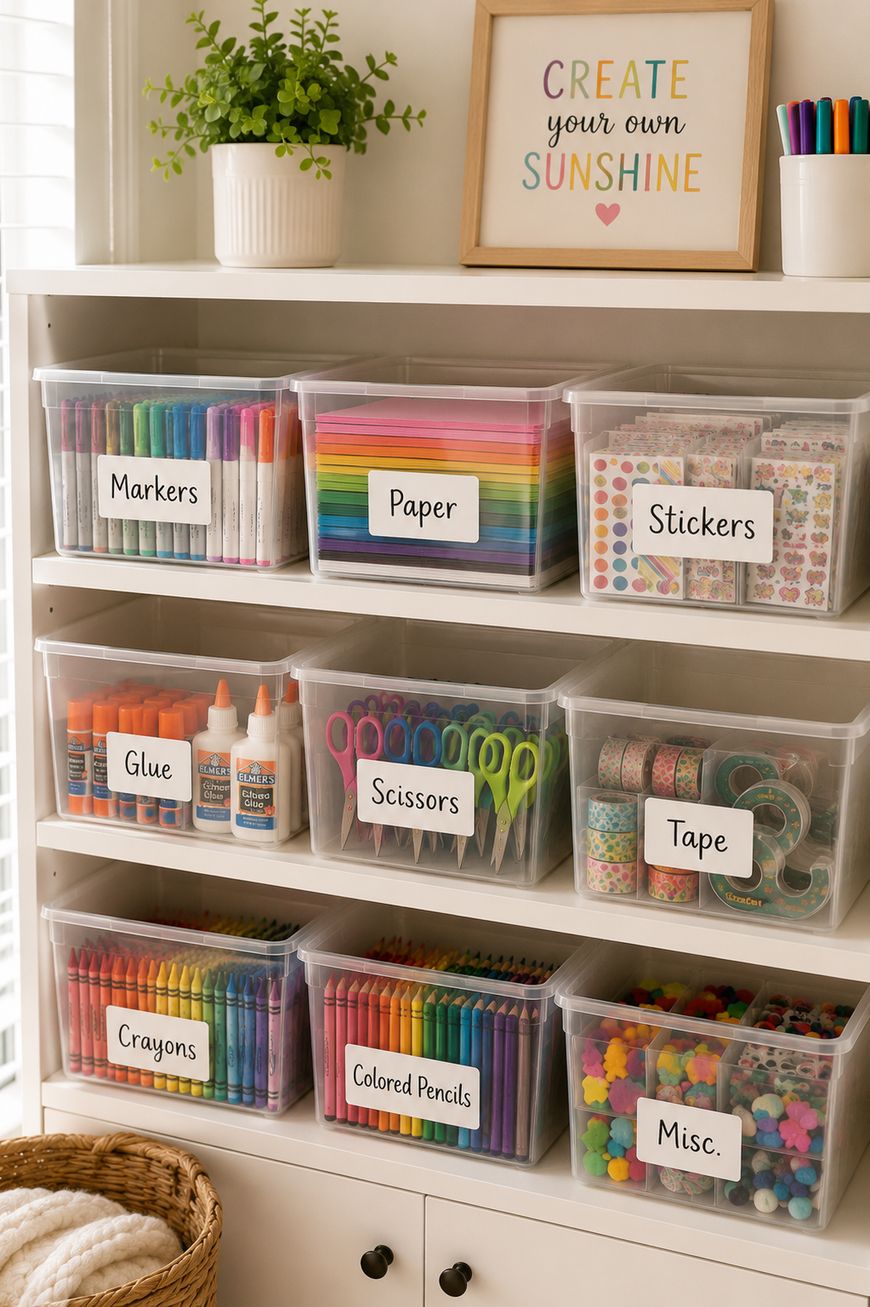
Label each bin clearly on the front, using both words and pictures for younger children. When kids can read the label and see through the container, they have no excuse for not finding the scissors.
Standard shoe-box-size containers work well for paper, cardstock, and flat items. Smaller bins handle markers, crayons, colored pencils, and glue sticks neatly.
Look for bins with secure lids if you have toddlers in the house, or if the bins will be stacked. Open-top bins are easier for school-age kids who are grabbing supplies quickly.
Rolling Carts for Flexible Storage
A rolling cart is one of the best investments for kids crafts organization, especially in smaller homes. It stores in a closet or corner when not in use and rolls out to wherever the project is happening.
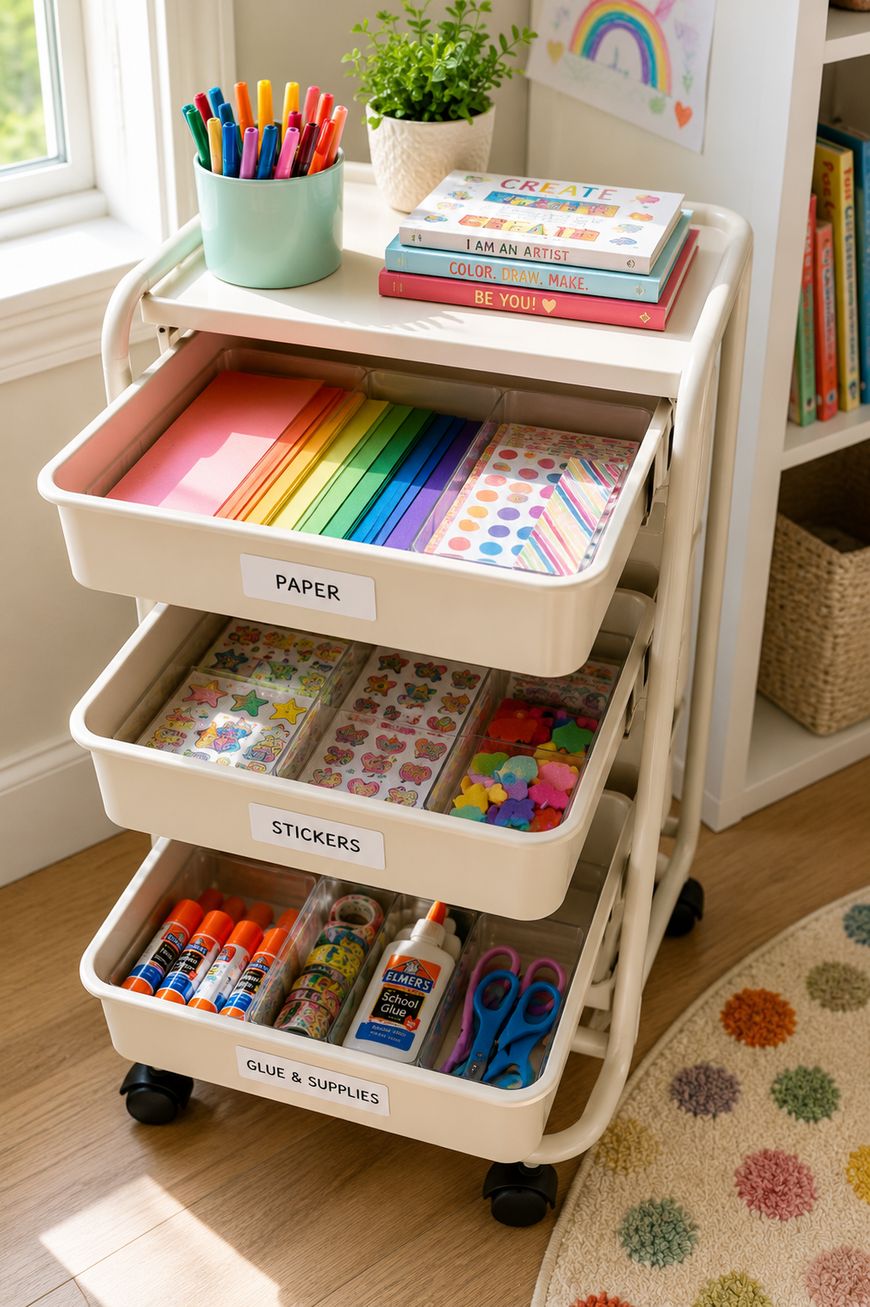
Three-drawer rolling carts are extremely popular for good reason. Each drawer can hold a different category, and the cart moves easily from room to room.
You can also use a rolling cart with open shelves and small baskets. This style makes it even easier for kids to grab what they need without pulling out an entire drawer.
Look for carts that lock in place so they stay put during a project and roll easily on both hardwood and carpet. Rubber-wheeled carts tend to work best on multiple surfaces.
Wall-Mounted and Vertical Storage
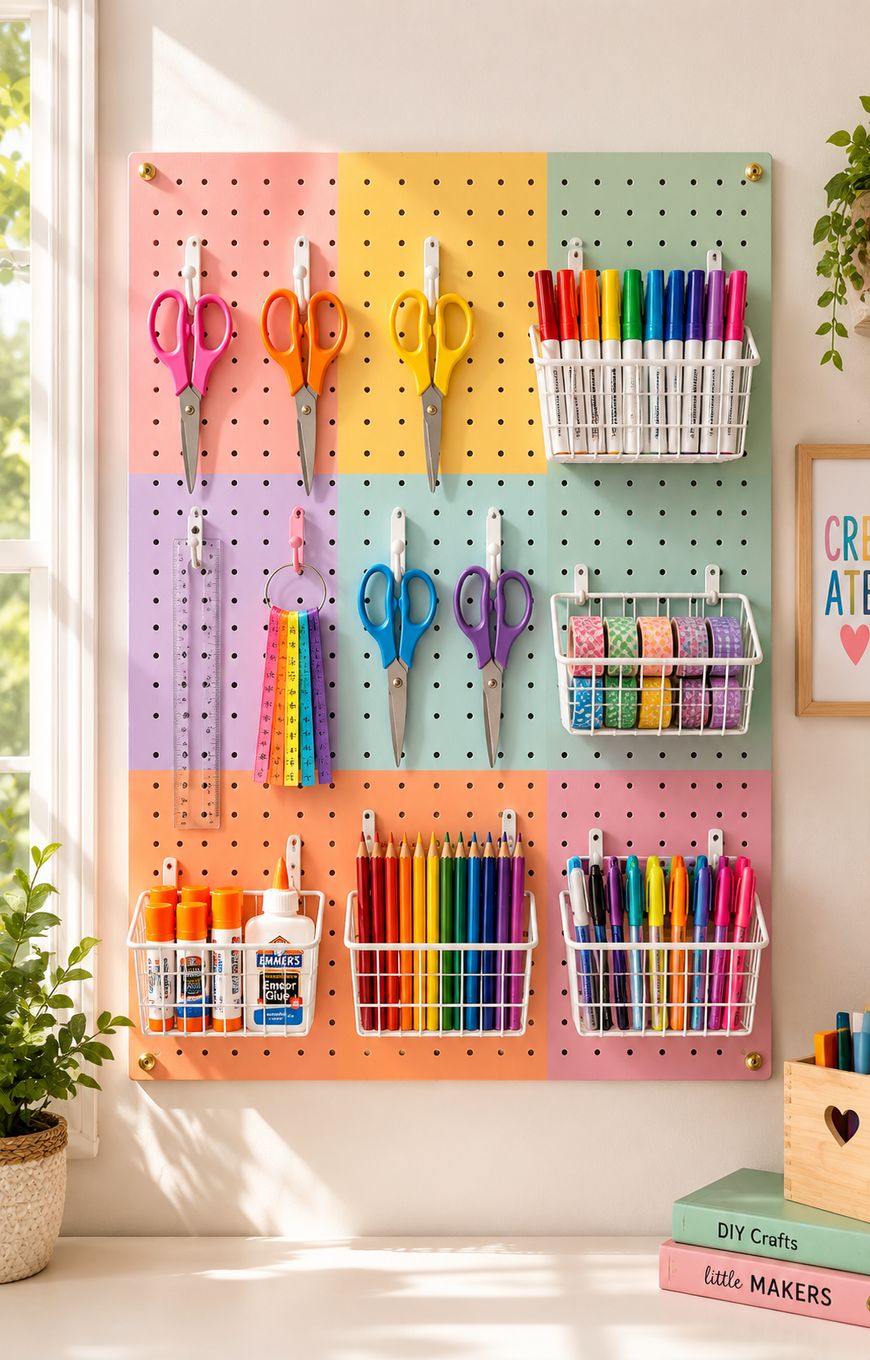
If floor and shelf space is limited, think vertically. Wall-mounted pegboards, magnetic boards, and hanging organizers can hold an impressive amount of craft supplies without taking up any surface space.
Pegboards work especially well for scissors, rulers, hole punches, and other tools that can hang from hooks. Adding small bins or baskets to the pegboard expands the storage even further.
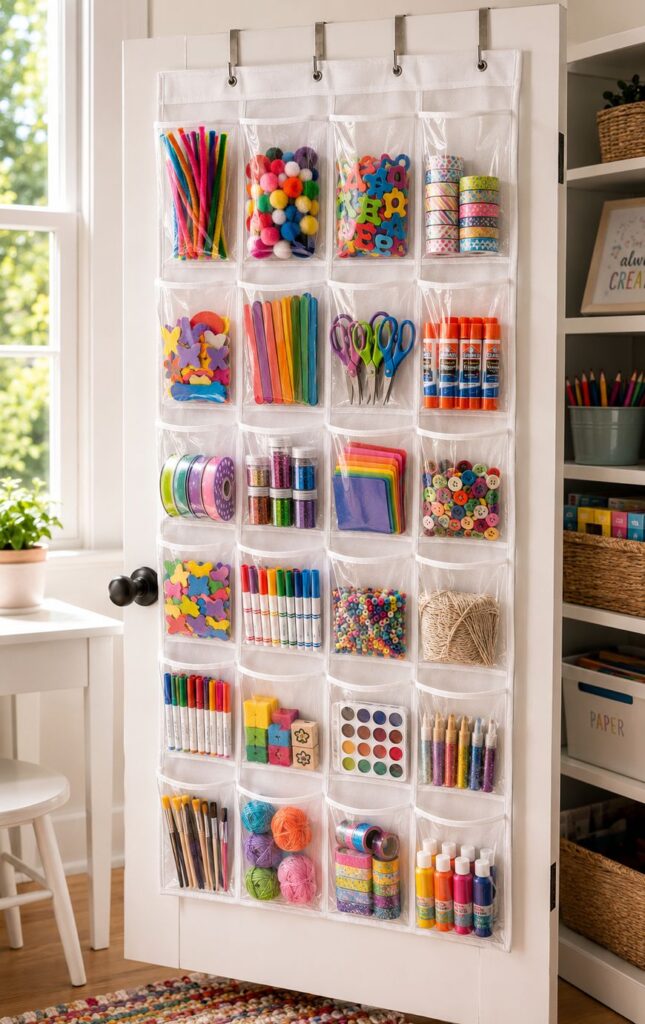
Hanging shoe organizers mounted on the back of a door or closet wall are an underrated solution. Each pocket holds a different supply category, and the whole system takes up almost no room.
Magnetic strips or magnetic boards mounted at a child-accessible height keep scissors, rulers, and metal tools visible and within reach without drawer-digging.
Divided Trays and Art Supply Boxes
For families who do most crafting at a single table, divided trays keep the most-used supplies within easy reach during a project. These work similarly to a silverware organizer but for craft tools.
Art supply boxes with hinged lids and built-in dividers are another great option, especially for older kids who have more sophisticated supplies like watercolors, colored pencils, and fine-tip markers.
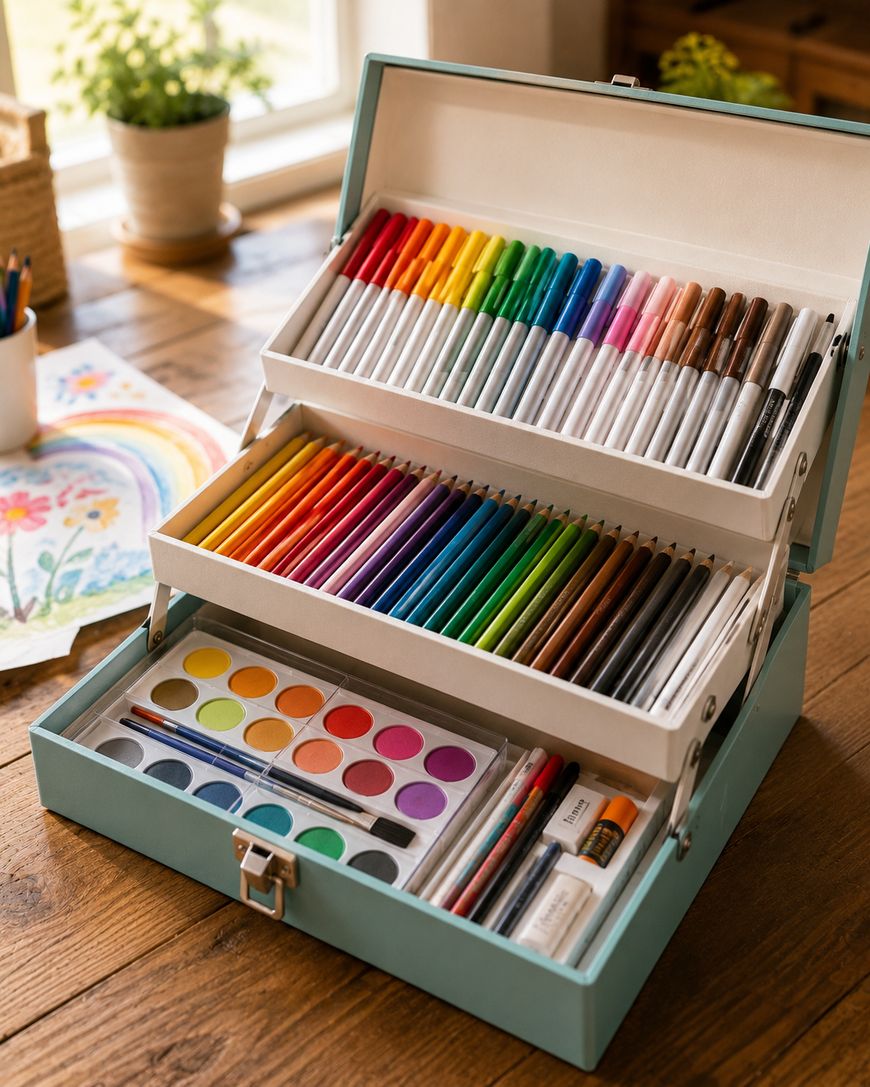
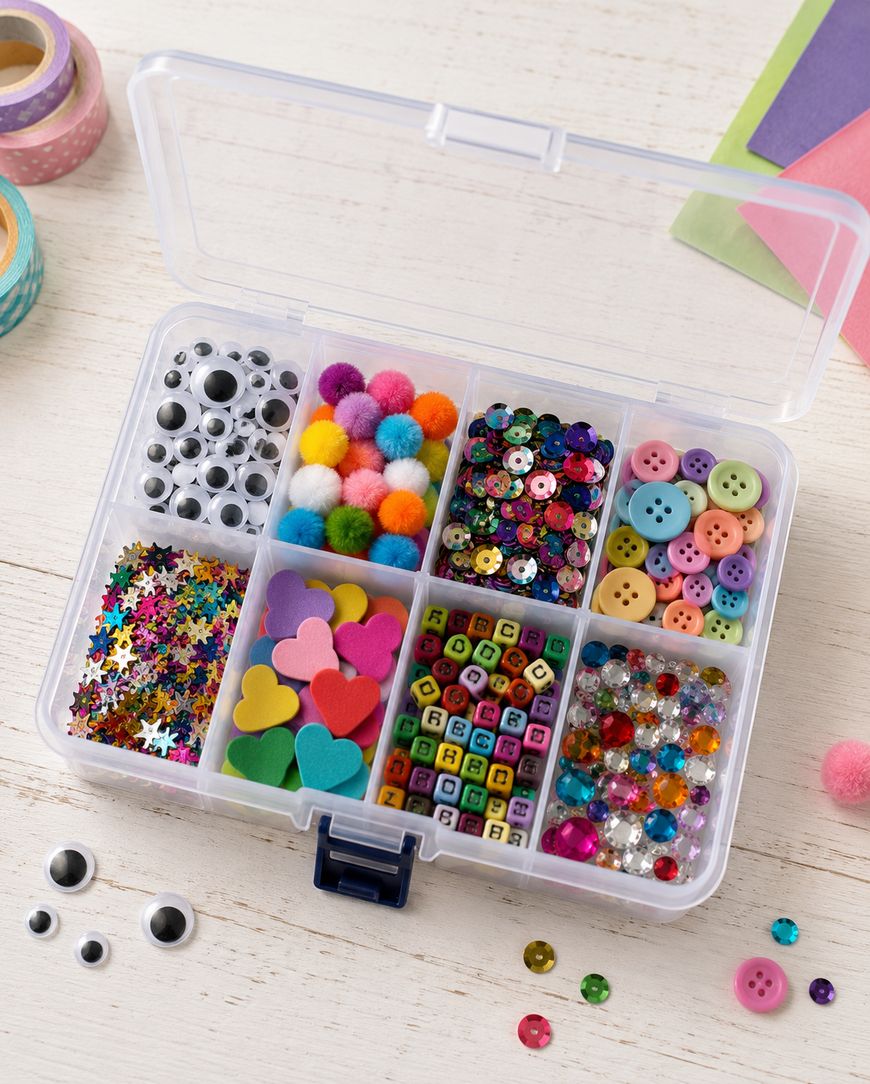
A divided tray or tackle box also works well for small embellishments: buttons, googly eyes, pom-poms, sequins, and beads. These tiny items are notoriously hard to store without something that keeps them separated.
Organizing Craft Paper and Flat Supplies
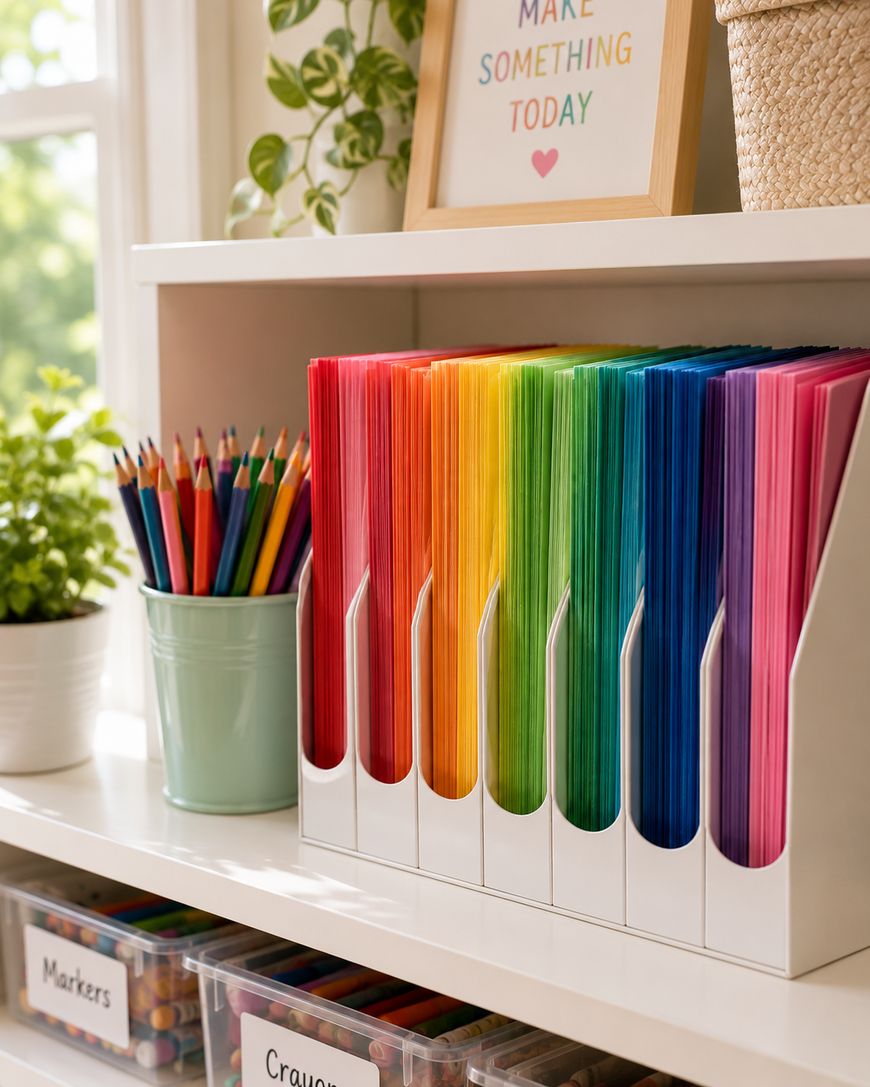
Paper is often the hardest thing to store because it comes in so many sizes, colors, and types. Flat filing is almost always the most efficient approach.
A vertical file organizer or magazine rack works well for standard letter-size paper and construction paper. Separate slots for different colors or types make it easy to grab exactly what you need.
For larger paper like poster board and foam sheets, a flat drawer under a table or a wide bin on a low shelf is your best bet. Standing large paper upright in a tall bin also works if you have the ceiling clearance.
Washi tape, sticker sheets, and foam stickers store well in small zippered pouches or flat pouches grouped together in a single bin.
Keeping Kids Crafts Organization Going Long-Term
The best system in the world only works if your family actually uses it. A few strategies help keep the organization going between big cleanups.
Do a five-minute tidy at the end of every craft session. Setting a timer makes it feel like a game rather than a chore, and kids often surprise you with how much they can put away in five minutes.
Do a quick seasonal purge every few months to pull out supplies that have run out or are no longer being used. This keeps the system from creeping back into chaos.
Rotate supplies seasonally to keep things fresh. Pack away some materials and bring out others to make kids feel like they are getting something new without any extra spending.
Q&A: Kids Crafts Organization Questions Answered
What is the best way to store crayons and markers?
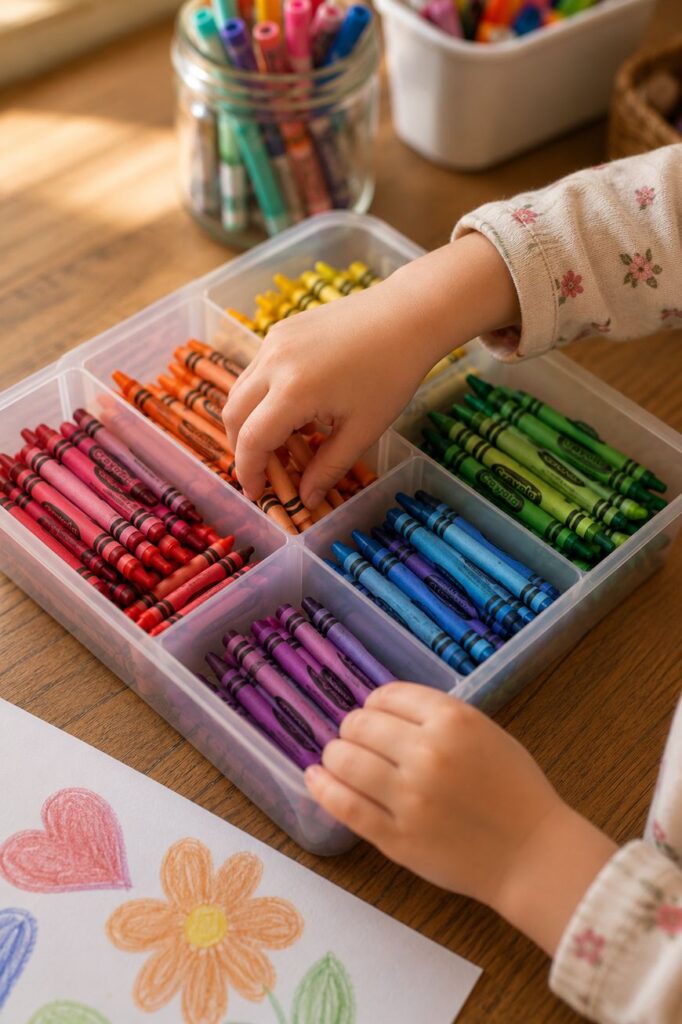
Clear pencil cases or small lidded containers work well for crayons when kids are young and have fewer of them. As the collection grows, a dedicated bin or drawer with dividers keeps everything sorted by type and prevents the endless tangled pile.
For markers, standing them upright in a cup or small bin lets kids see all the colors at once. Horizontal storage works only if the caps are secure, since markers dry out quickly when not fully capped.
How do I organize craft supplies in a small space?
Focus on vertical storage and dual-purpose solutions. A rolling cart that slides into a closet, a pegboard on the wall, or a hanging door organizer can hold a surprising amount in a small footprint.
Choosing furniture that doubles as storage, like an ottoman with a lift-top lid, also helps in tight spaces. The goal is to keep supplies contained and accessible without dedicating a whole room to them.
How do I get kids to actually put supplies away?
Make the system so simple that putting things away is easier than leaving them out. Every item needs a clear, obvious home that is at kid height.
Visual labels with pictures are especially helpful for younger children. When cleanup is intuitive, it becomes part of the routine rather than a battle.
At what age can kids manage their own craft organization?
Most children can begin participating in cleanup and organization around age three or four with guidance. By ages six to eight, many kids can manage a simple system mostly independently.
The key is matching the complexity of the system to the age of the child. Fewer categories and larger bins work better for younger kids, while older children can handle more nuanced sorting and labeling.
What supplies should every kids craft station have?
A well-stocked basic craft station covers drawing tools like crayons, colored pencils, and markers, plus paper in a few varieties, glue sticks, safety scissors, tape, and a small selection of embellishments like stickers and foam shapes.
From that foundation, you can add supplies based on your kids’ specific interests, whether that is painting, paper crafts, sewing, or building. Starting simple and adding gradually keeps the collection manageable.
How often should I reorganize the craft supplies?
A quick tidy after every session is ideal, but a deeper reorganization every three to four months keeps things from getting out of hand. Seasonal transitions are a natural time to purge, rotate, and assess what is actually being used.
You do not need a full overhaul every time. Even ten minutes of pulling out the obviously empty or broken items makes the next session run more smoothly.
Start Your Kids Crafts Organization Today
Good kids crafts organization does not require a perfect playroom or a huge budget. It requires the right containers, a consistent system, and a little kid buy-in.
Start with the sort, find the storage that fits your space, and label everything clearly. Your family will spend more time making things and less time hunting for supplies, and that is exactly what crafting is supposed to feel like.


Leave a Reply